Project 2: Fun with Filters and Frequencies!
Matthew Hallac
Overview
In this project, I explore the properties of filters and frequencies when applied to different images, and use the techniques described to create cool and interesting images. Enjoy!
Fun with Filters
Finite Difference Operator
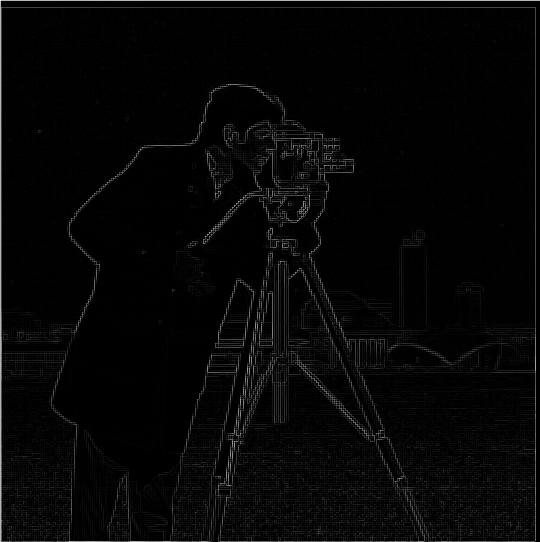
Let's start with our image of the cameraman. We can apply the finite difference operator in the x and y direction as a filter by convolving it with the original image to get the partial derivatives of the image in the x and y direction.

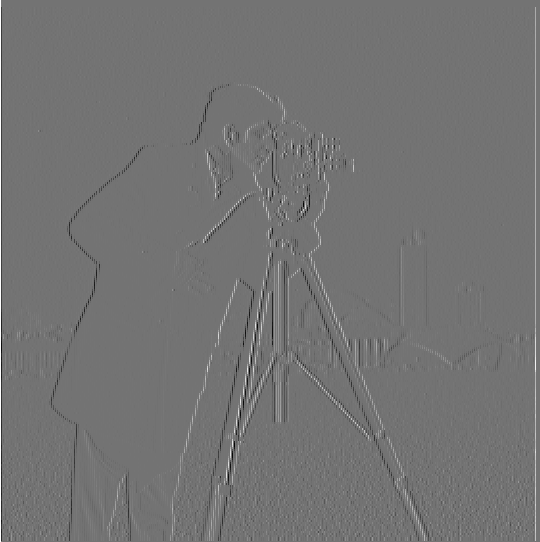
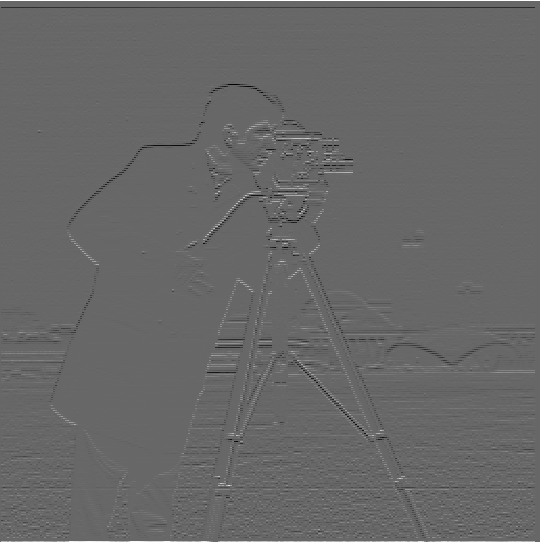
We can now create a gradient magnitude image, which will be an effective edge detector! To compute the gradient magnitude, we first get the image of the partial derivative in the x direction, then get the image of the partial derivative in the y direction. Then, for each pixel, we compute the gradient magnitude at that pixel as in the equation below, where f_x is the partial derivative in the x direction and f_y is the partial derivative in the y direction.
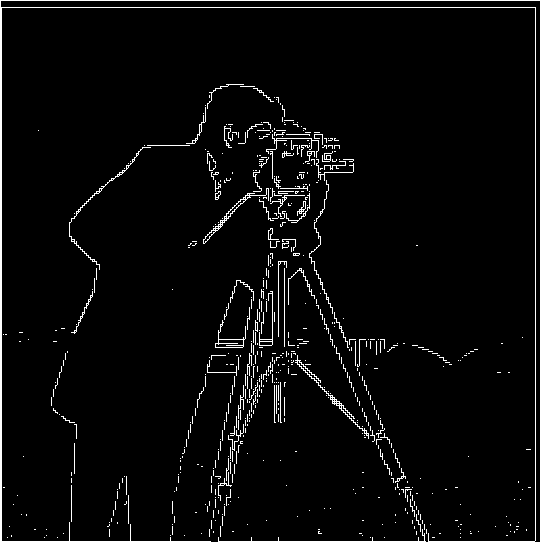
Once we have the gradient magnitude image, we can increase the contrast by taking all the pixels with a value above a certain threshold and make them white, and make all other pixels black.
Derivative of Gaussian Filter
This makes for a fairly good edge detector, but we can make it better by blurring the image using a gaussian filter before we take the gradient magnitude. This smooths the edges over a longer distance, and makes the edges thicker.

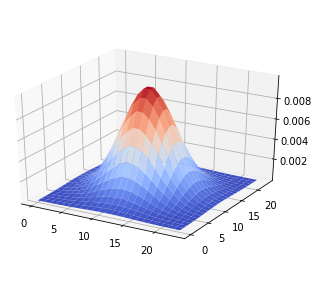
sigma = 4
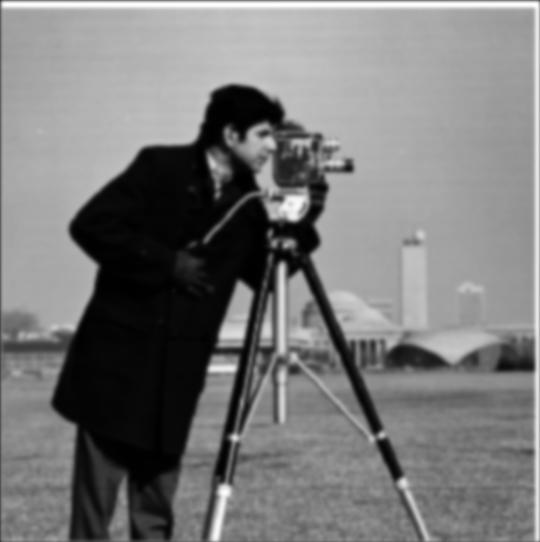
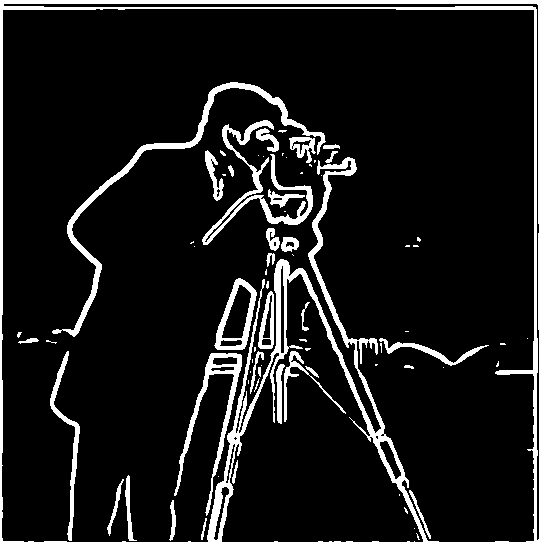


Image Straightening
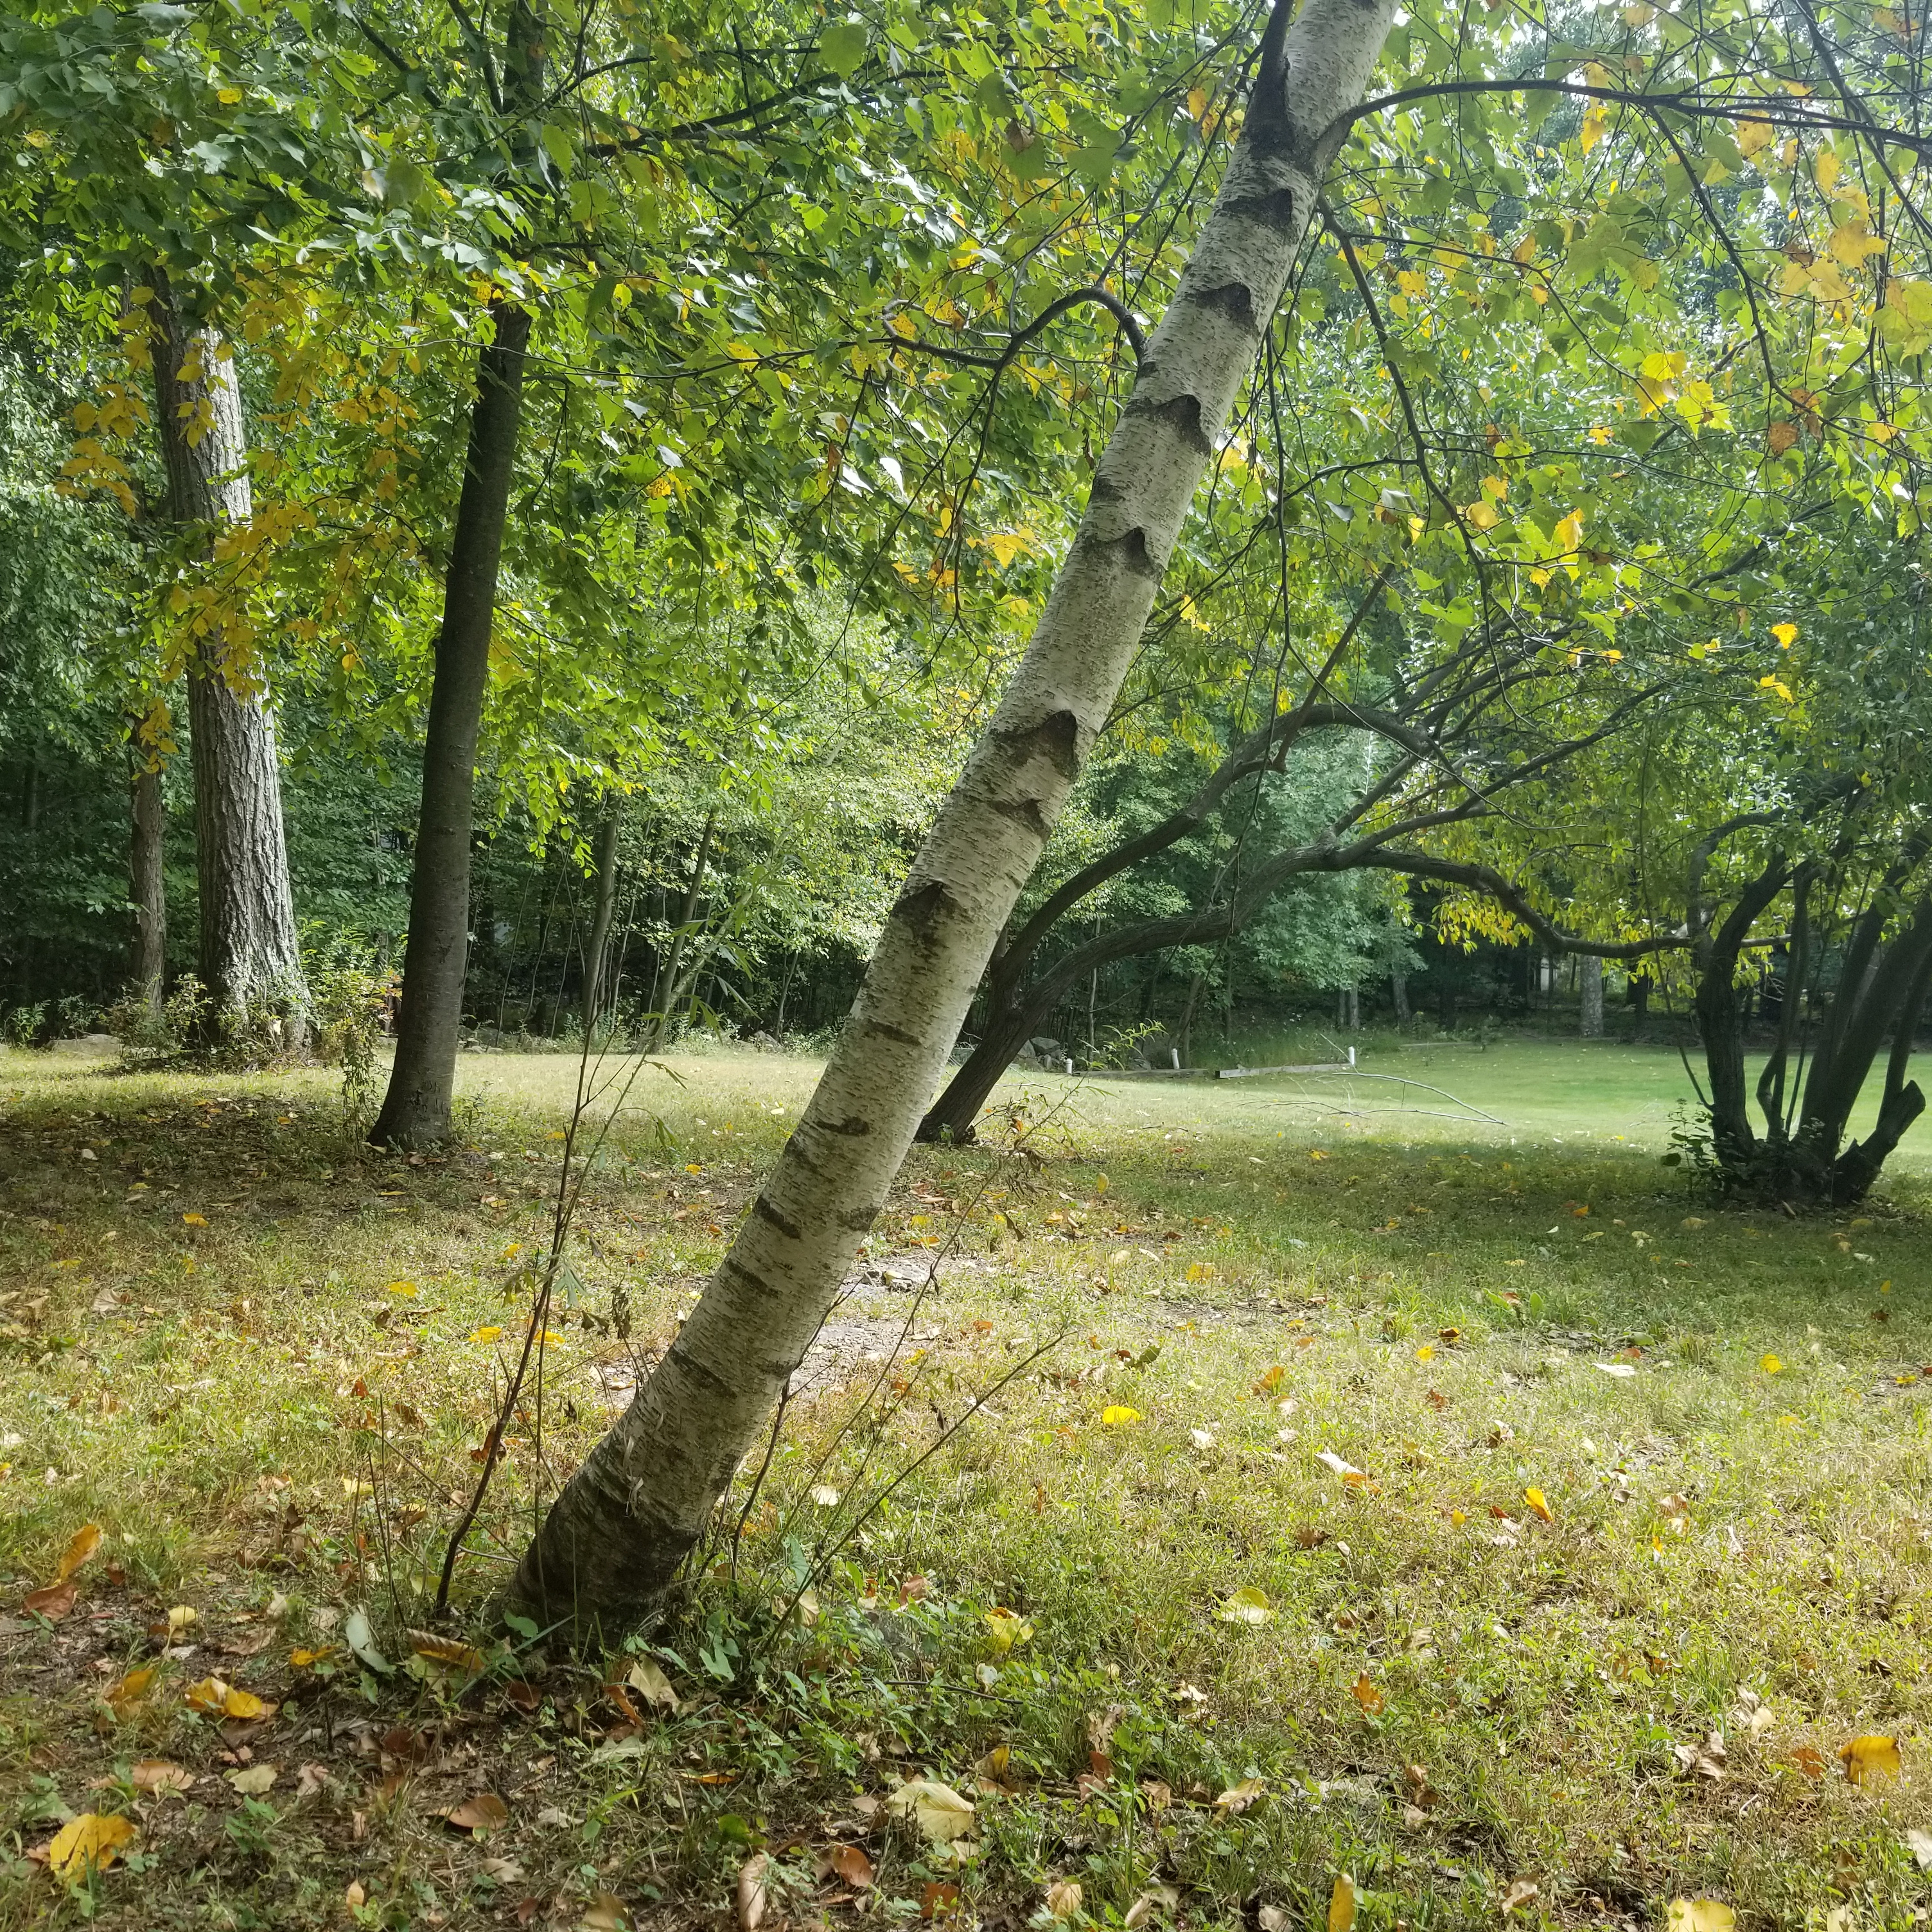
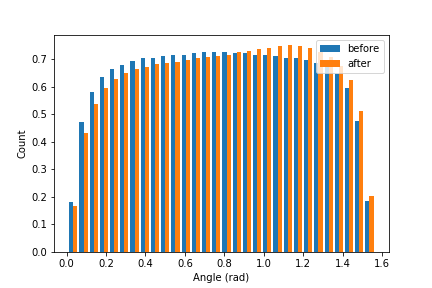
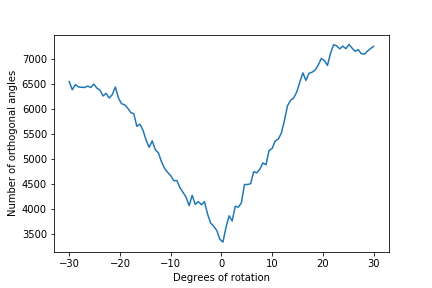
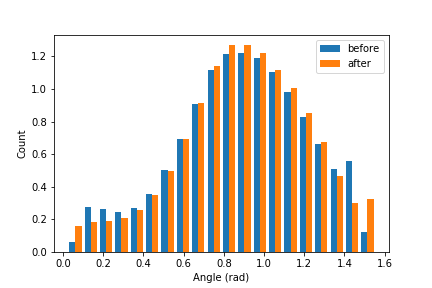
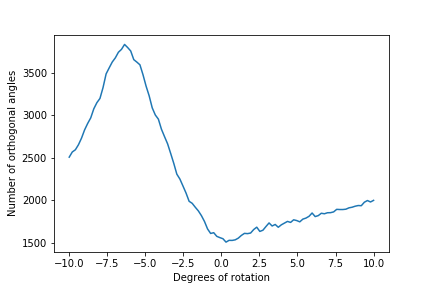
Oftentimes the photos we take are not straight, which most people fix by manually rotating the image to fix it. For this part, I wrote an algorithm which finds a rotation that will yield the highest amount of horizontal and vertical lines, automating the process of rotating an image to the correct angle, as shown in the sample images below. For each image, the algorithm
- Generated a list of 50 possible angles between a user specified range
- Applyed a gaussian with sigma 2 to blur the image
- For each potential angle,
- Rotate the image by the proposed amount
- Find the angle of the gradient for each pixel
- Count the number of angles that are 0 and 90 degrees
- Return the angle of rotation which had the highest number of pixels with a gradient 0 or 90 degrees
Facade


Leaning tree

Welcome to Delaware, taken from a moving vehicle


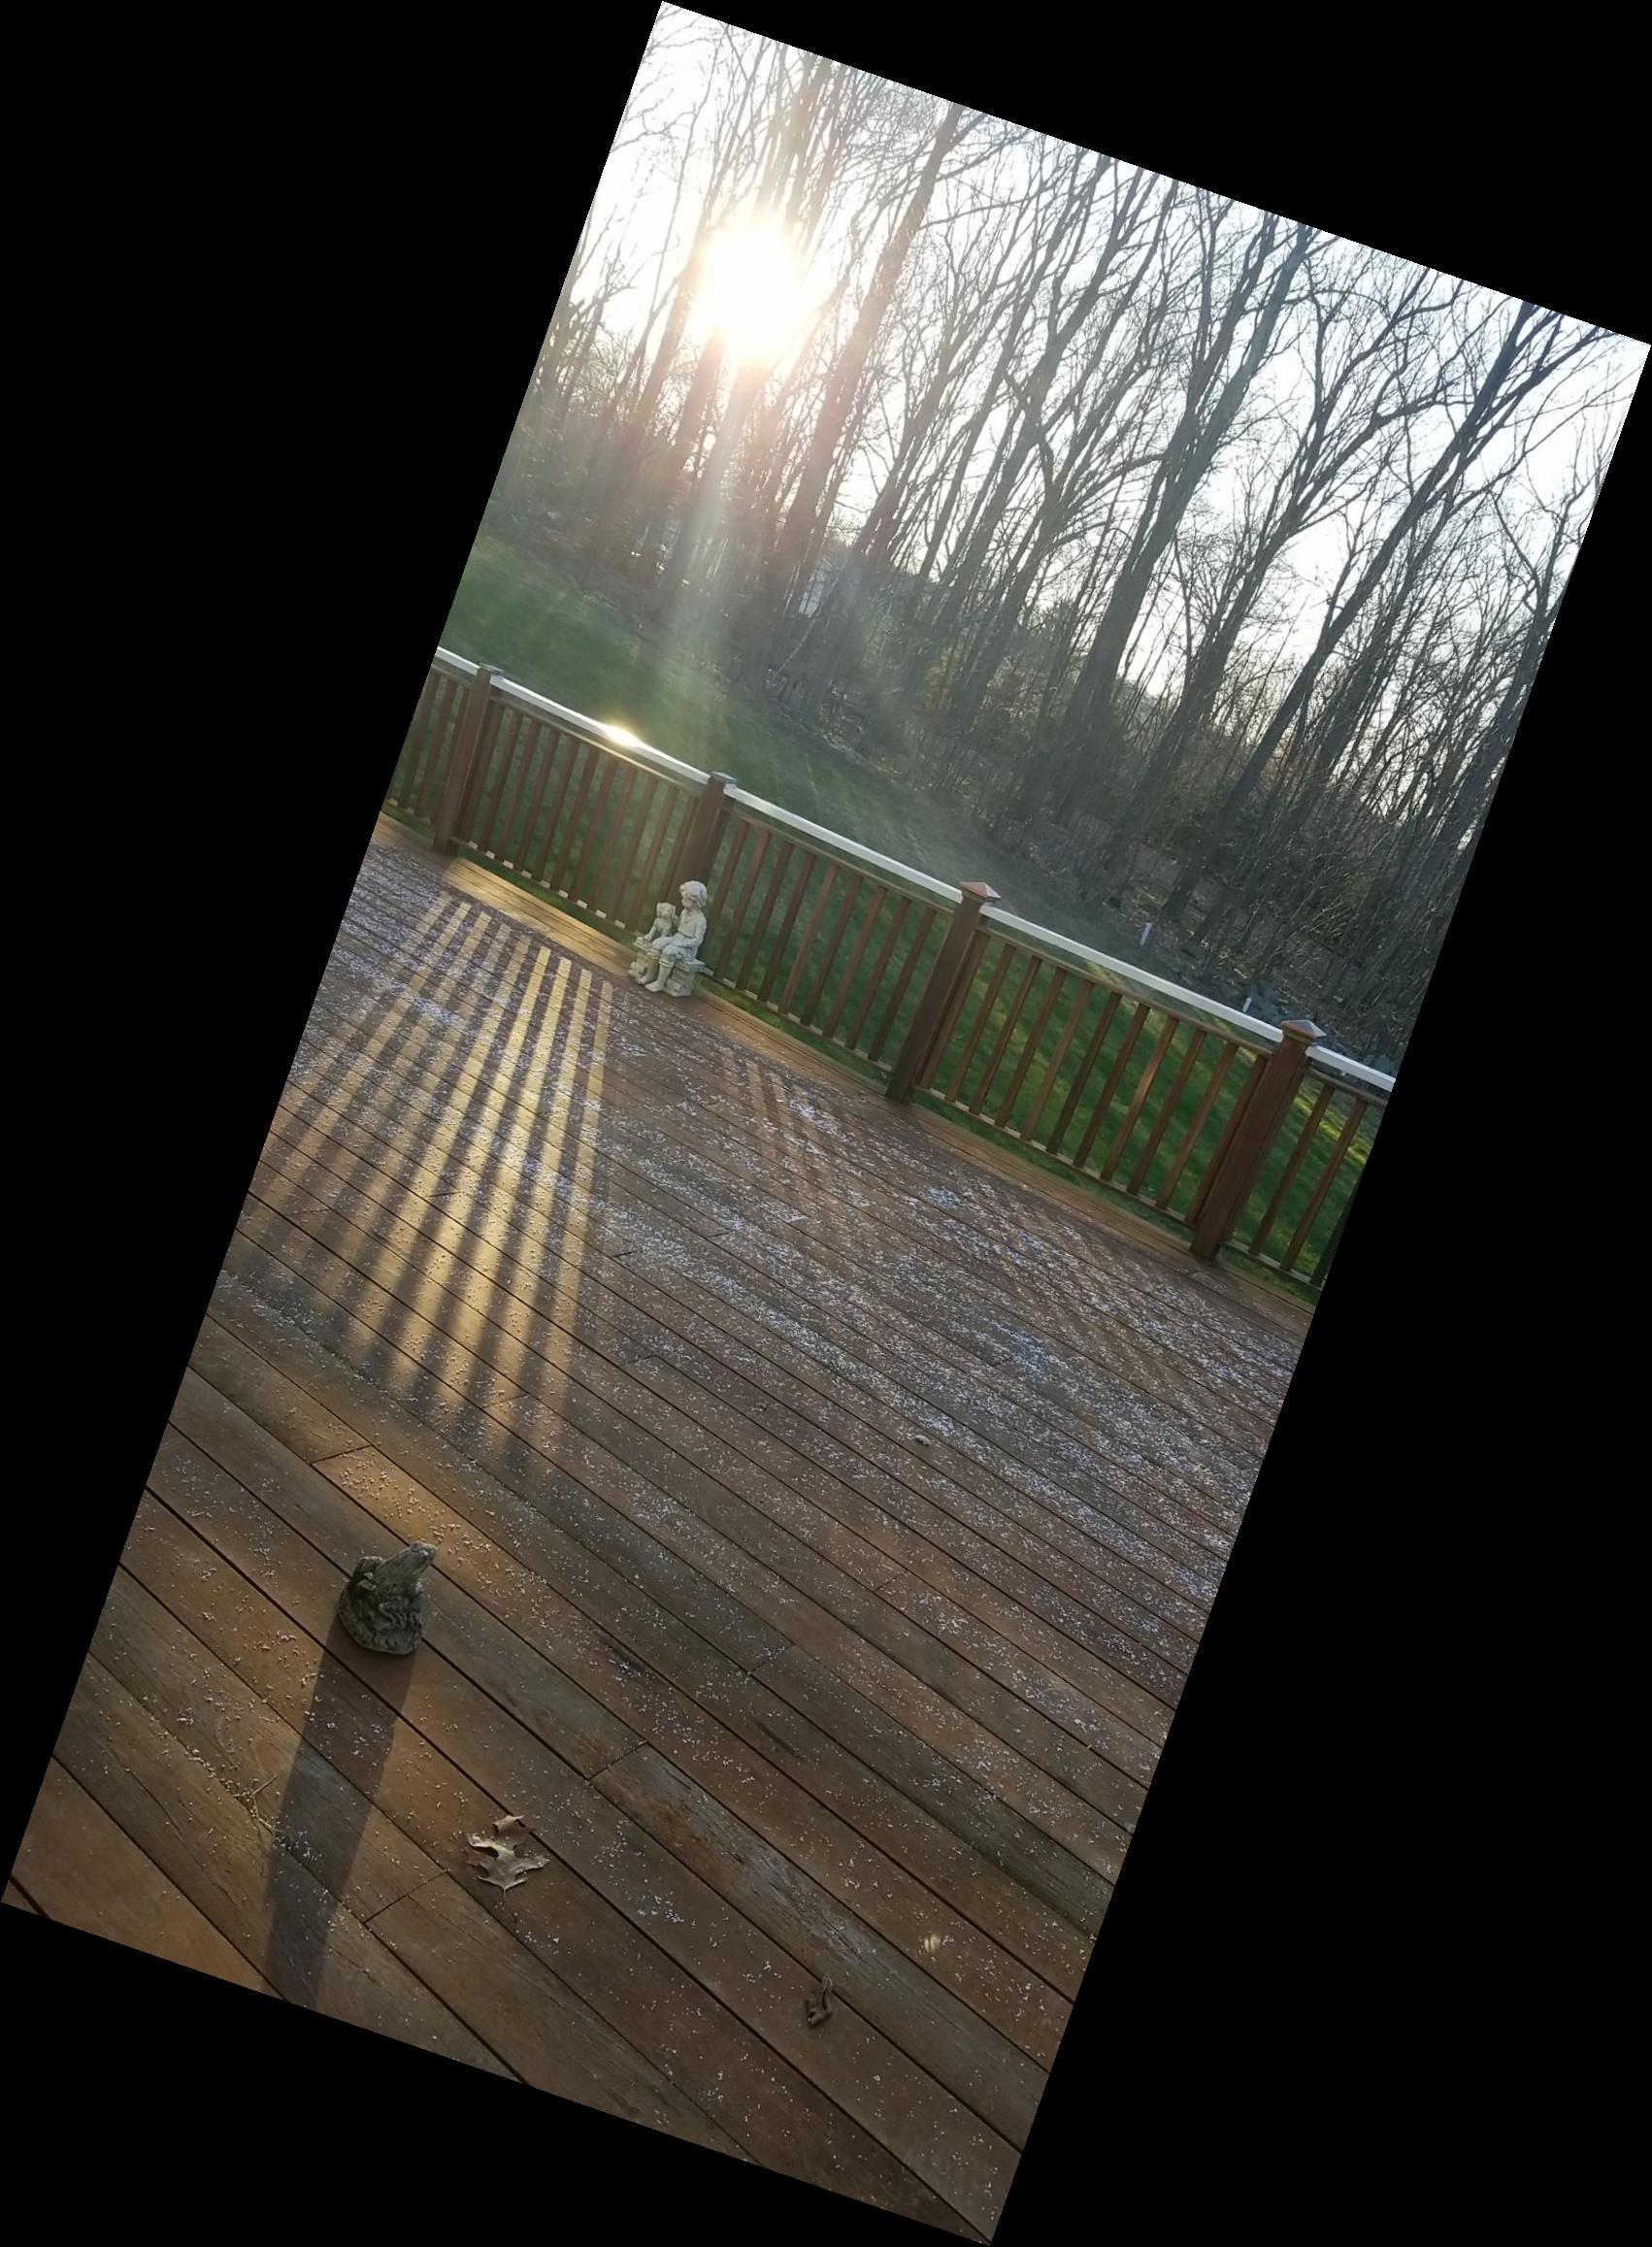
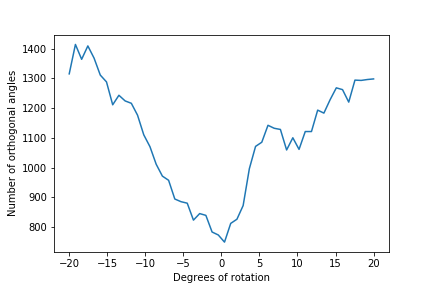
Failure case: deck in the spring


Fun with Frequencies!
Image "Sharpening"
As a first foray into the world of frequencies, we will "sharpen" images! By taking only the high frequency parts of an image and adding them into the original image, we can make images appear sharper since images with stronger high frequencies will pop more and appear sharper. Note that this does not actually make the image sharper and is just an illusion, since no additional information is being added to the image. We can implement this using one filter, known as the unsharp mask filter. When applied, we get the results shown below.
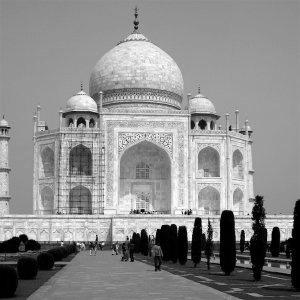


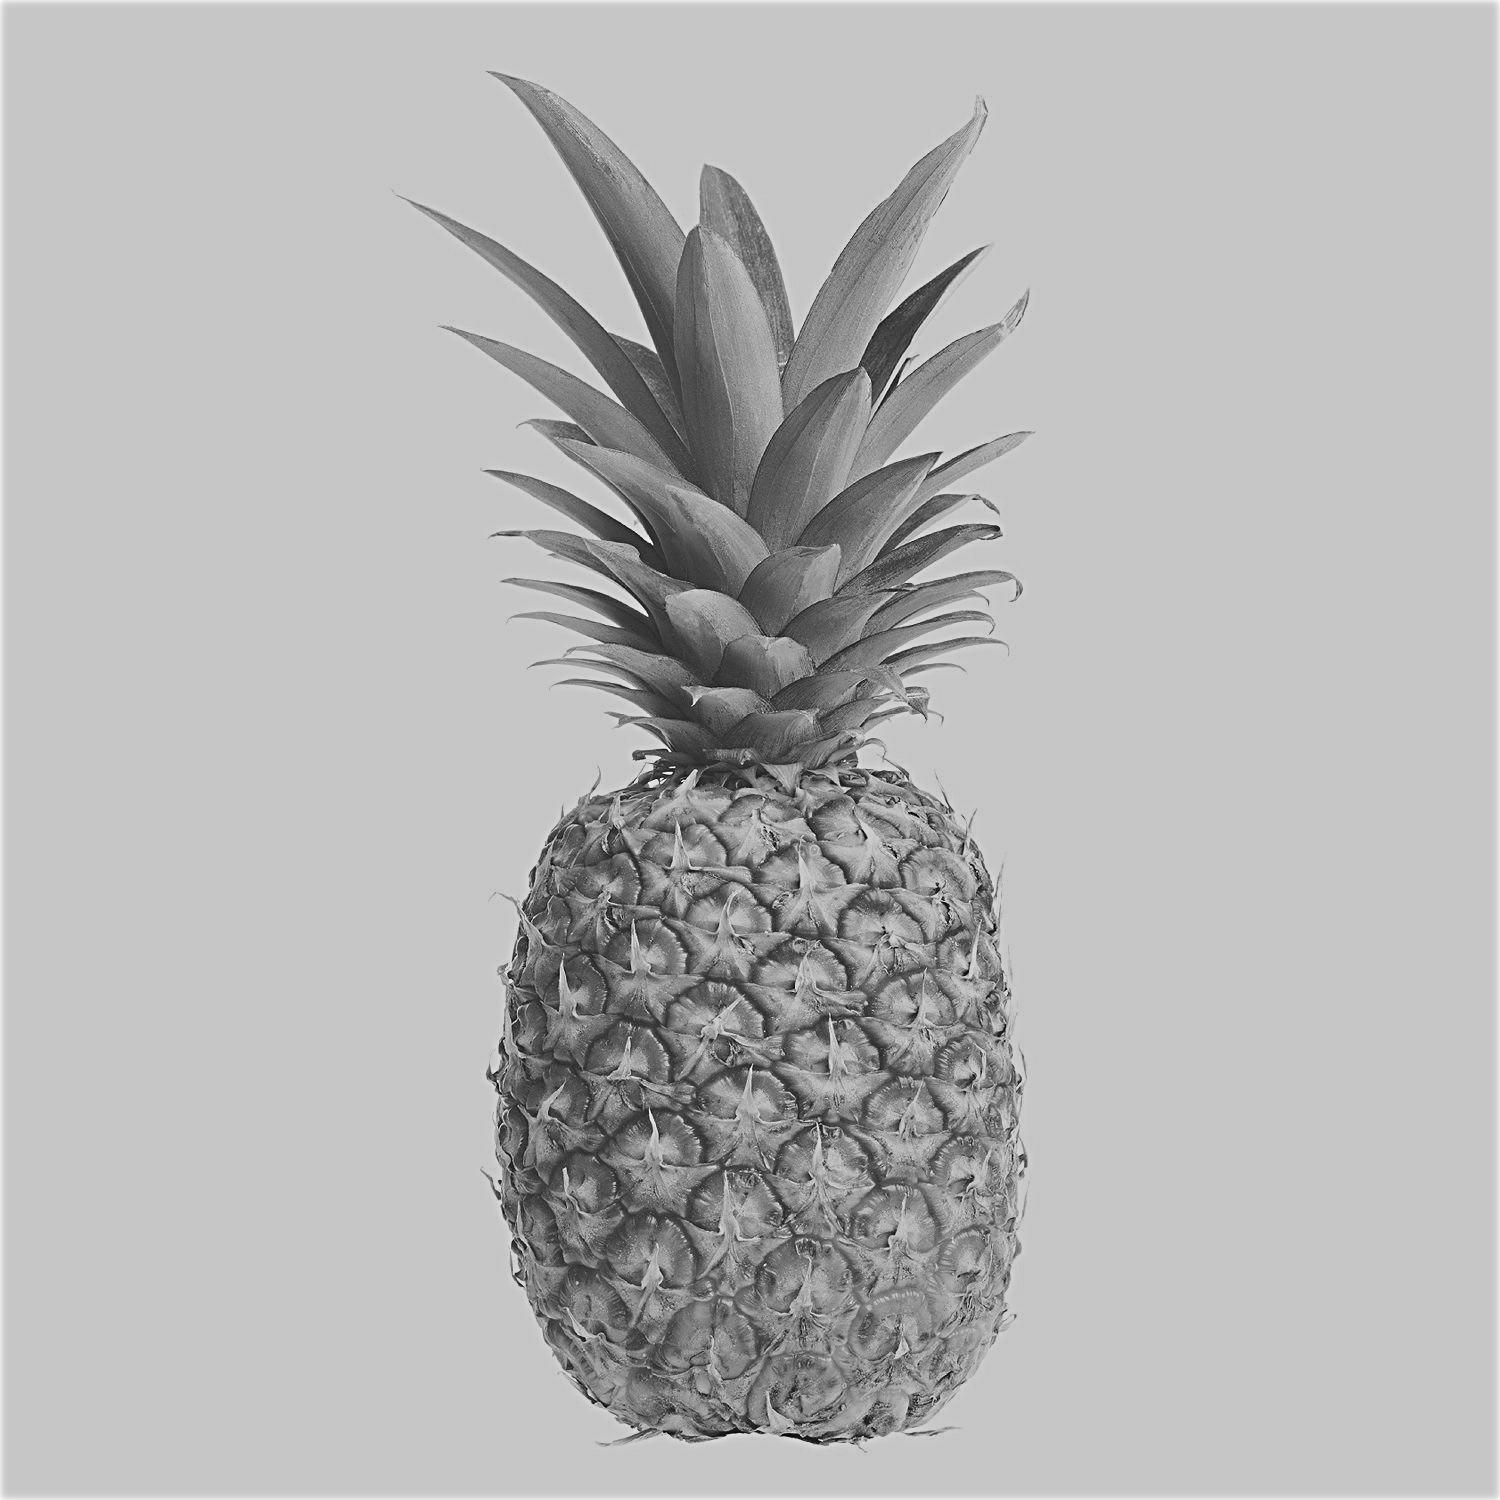
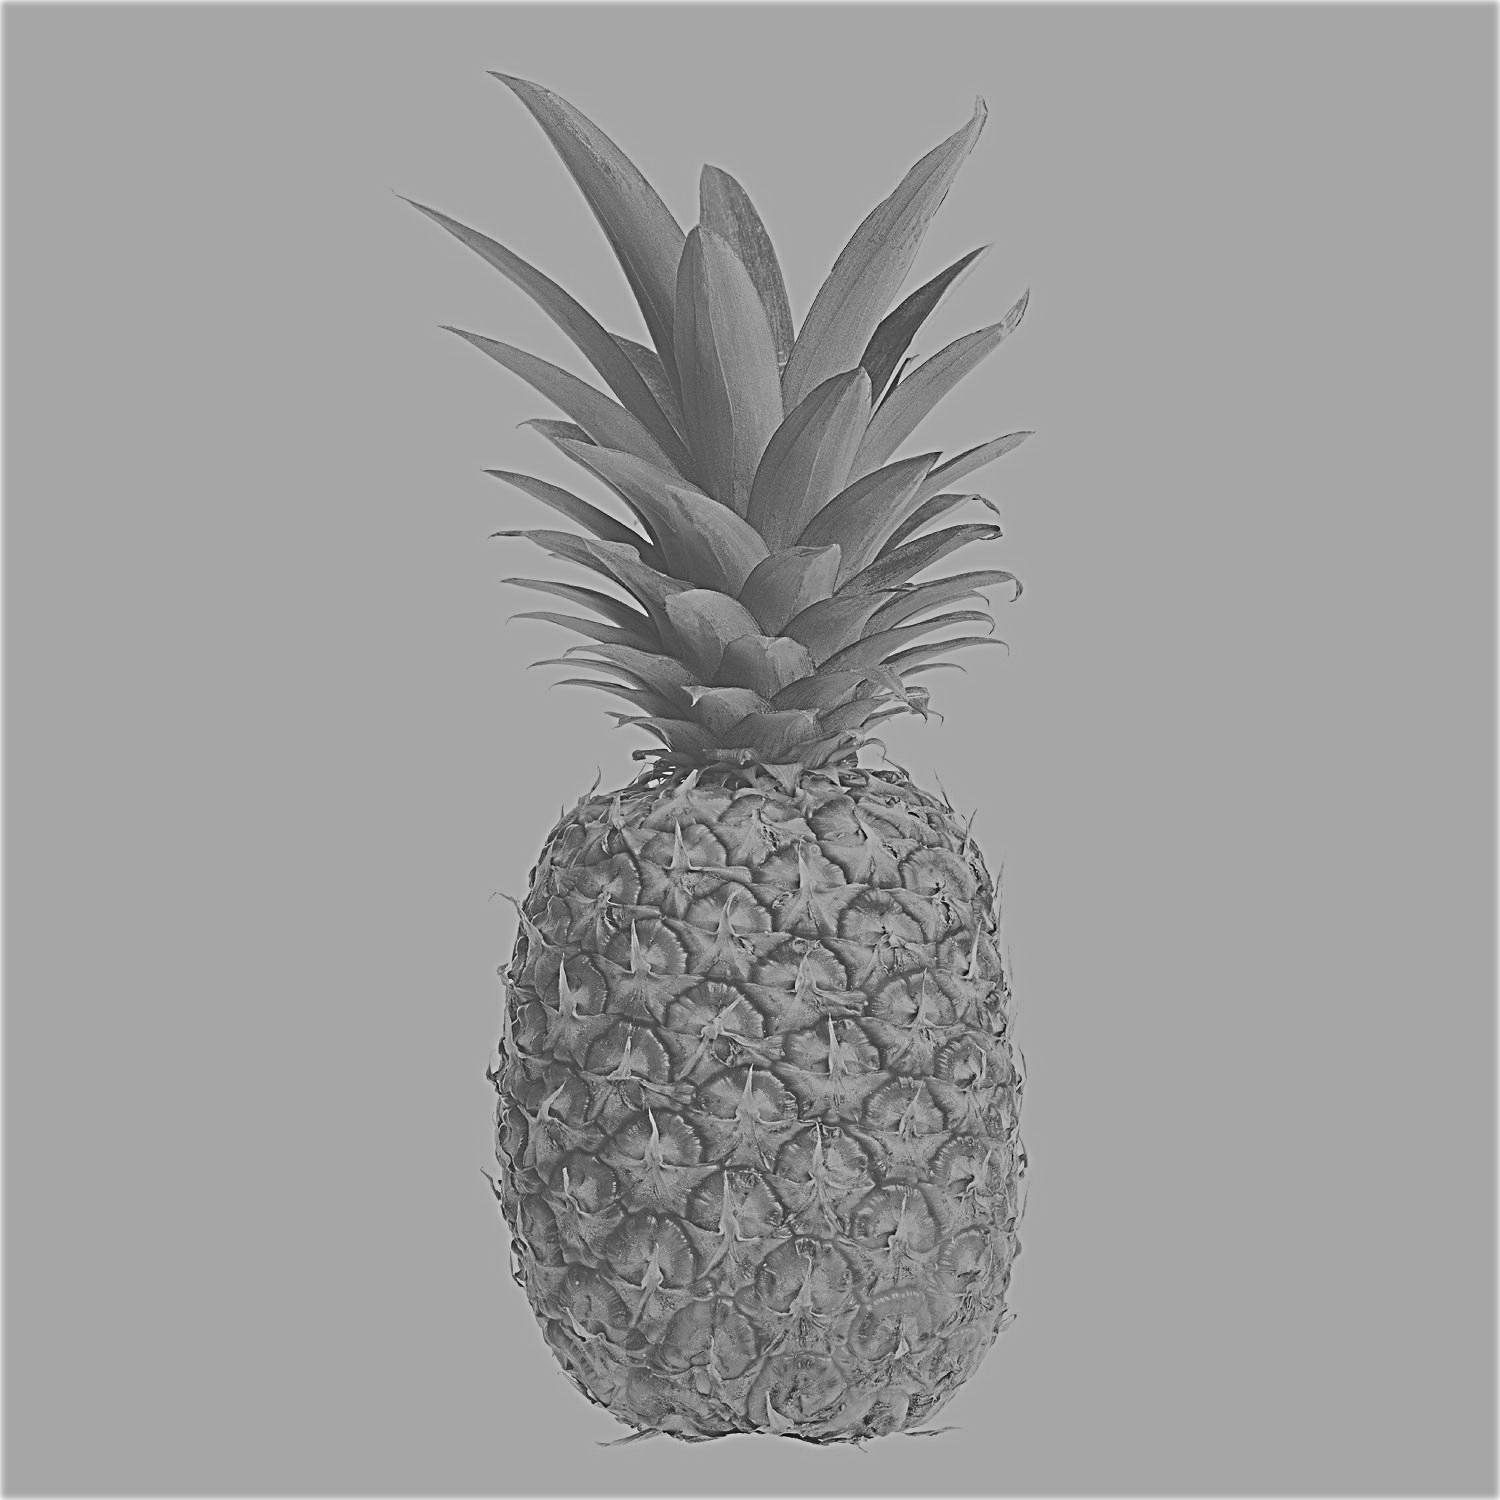
The result of trying to sharpen an already sharpened image is that the image appears darker, and appears as more of an outline than an image . In the case of black and white images, this does make it look sharper. An example of applying the filter three times is shown on the pinapple below
Hybrid Images
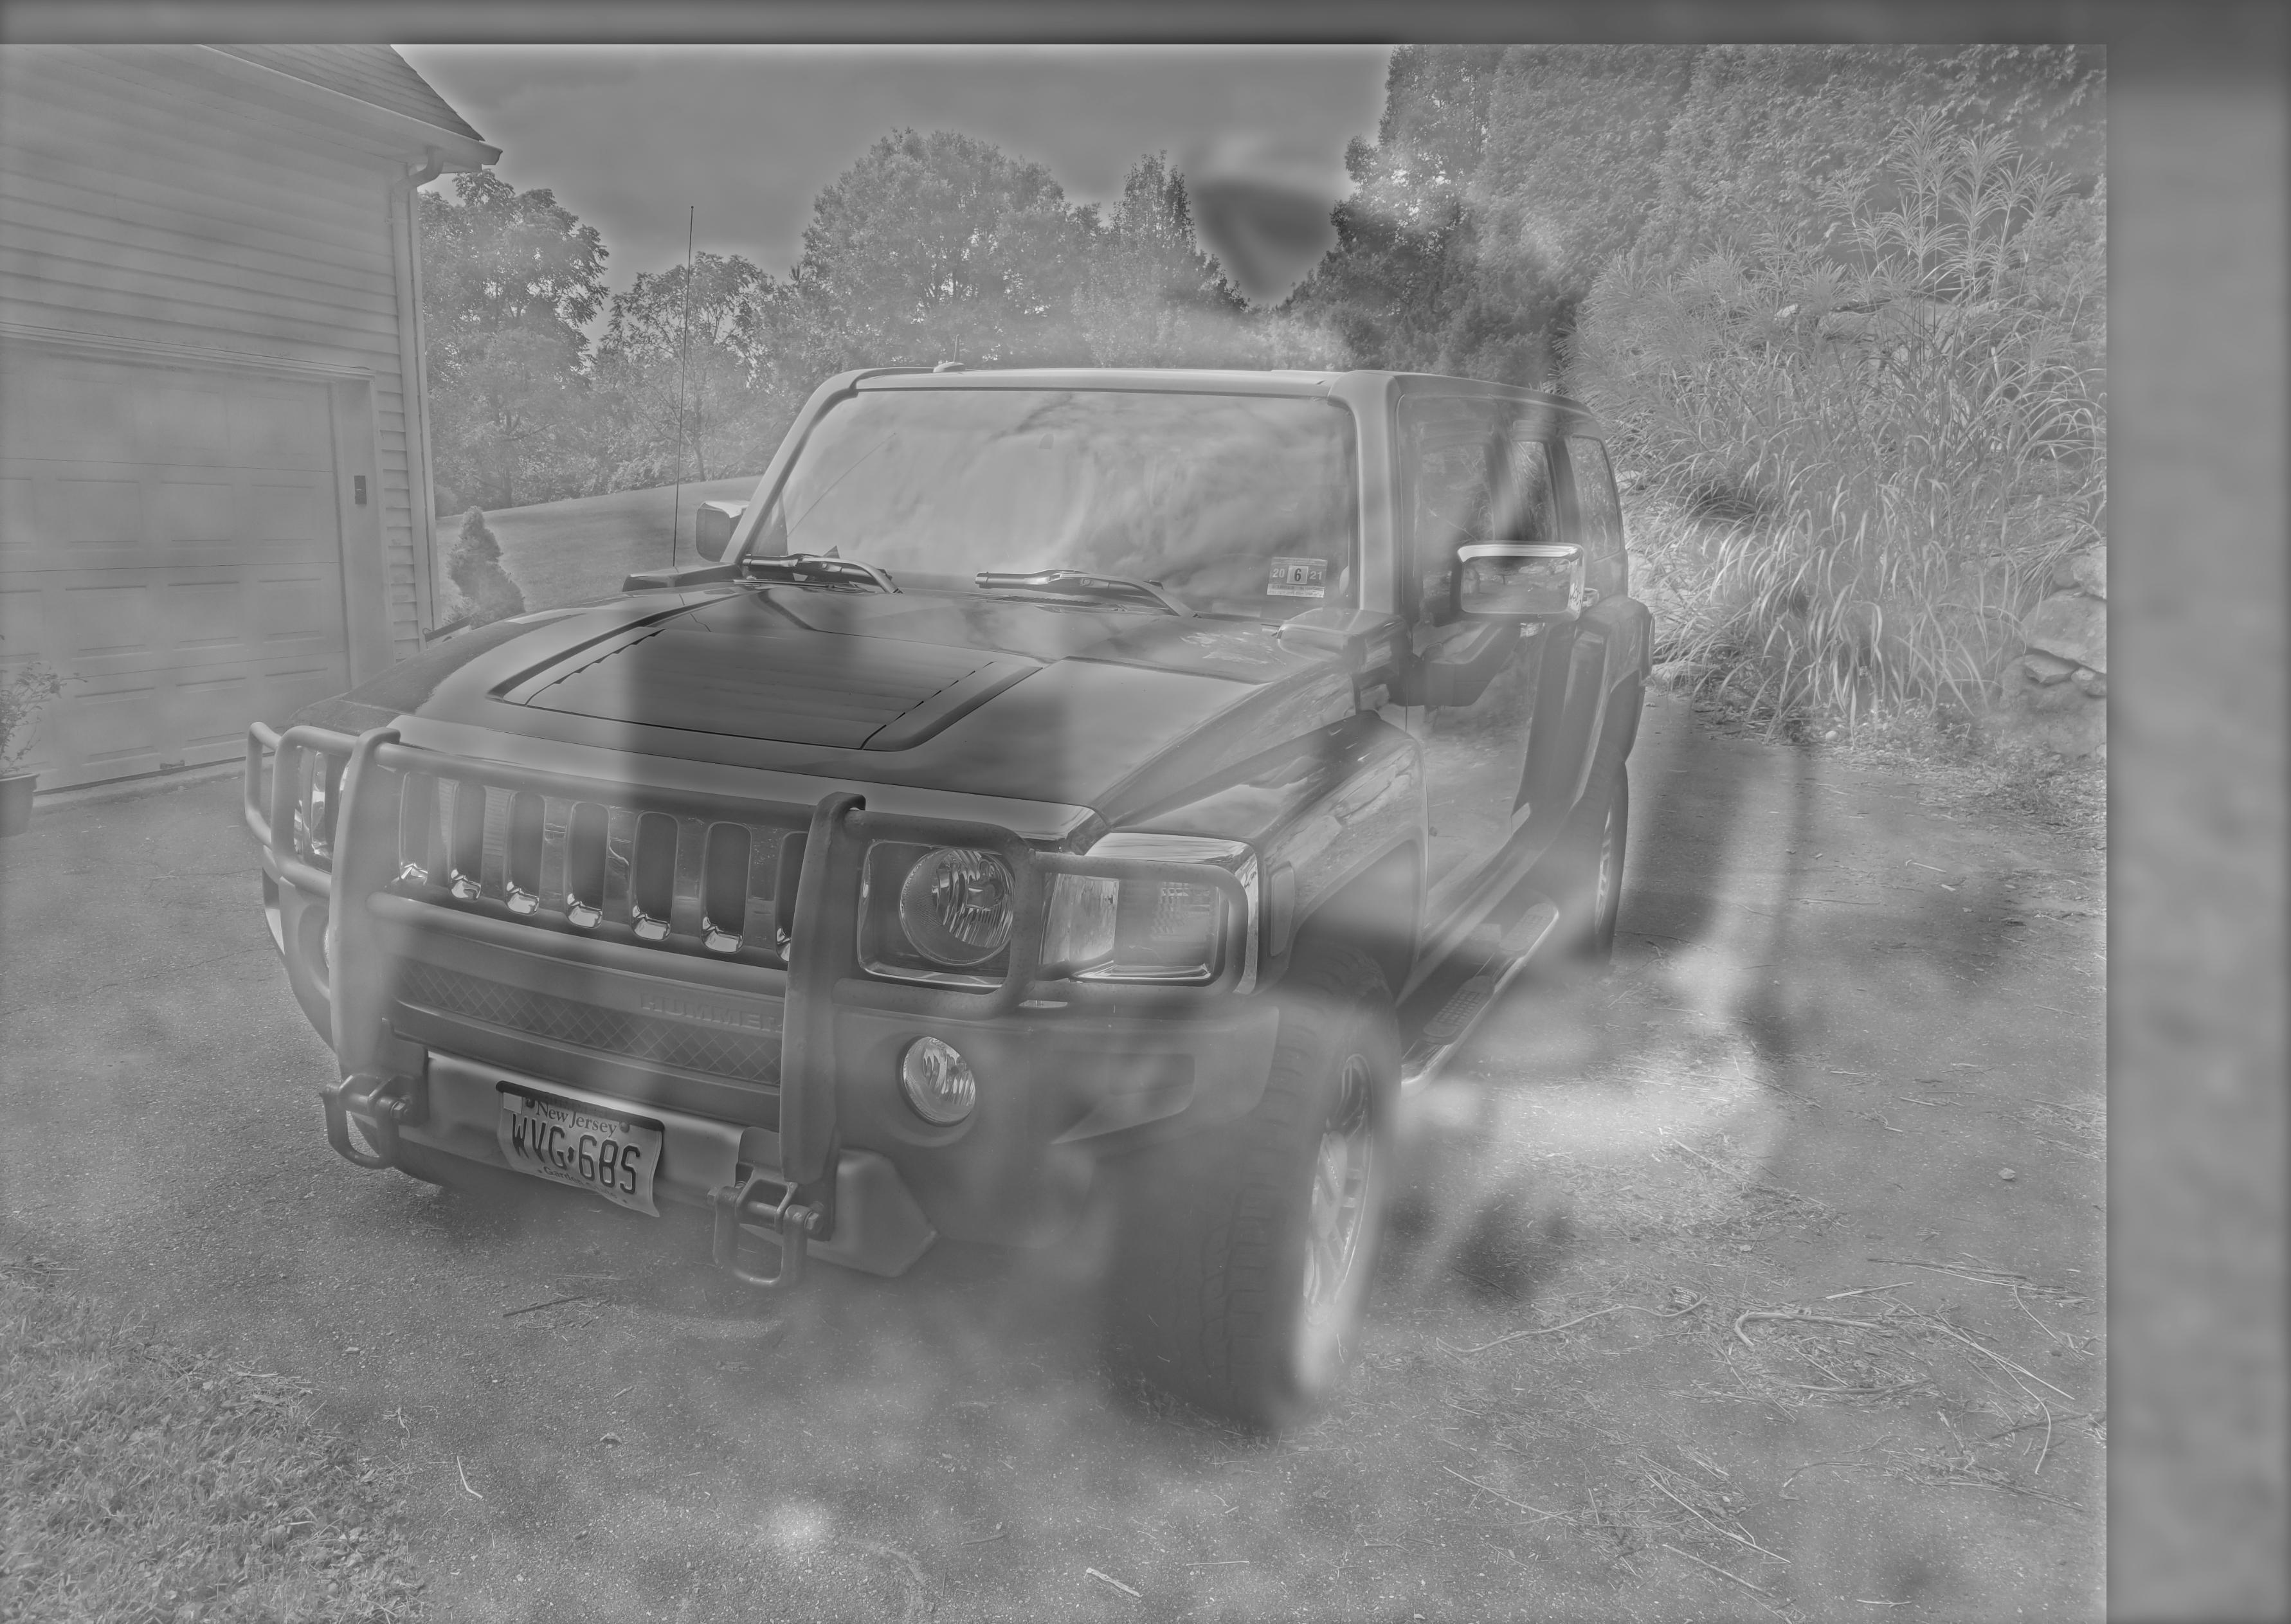
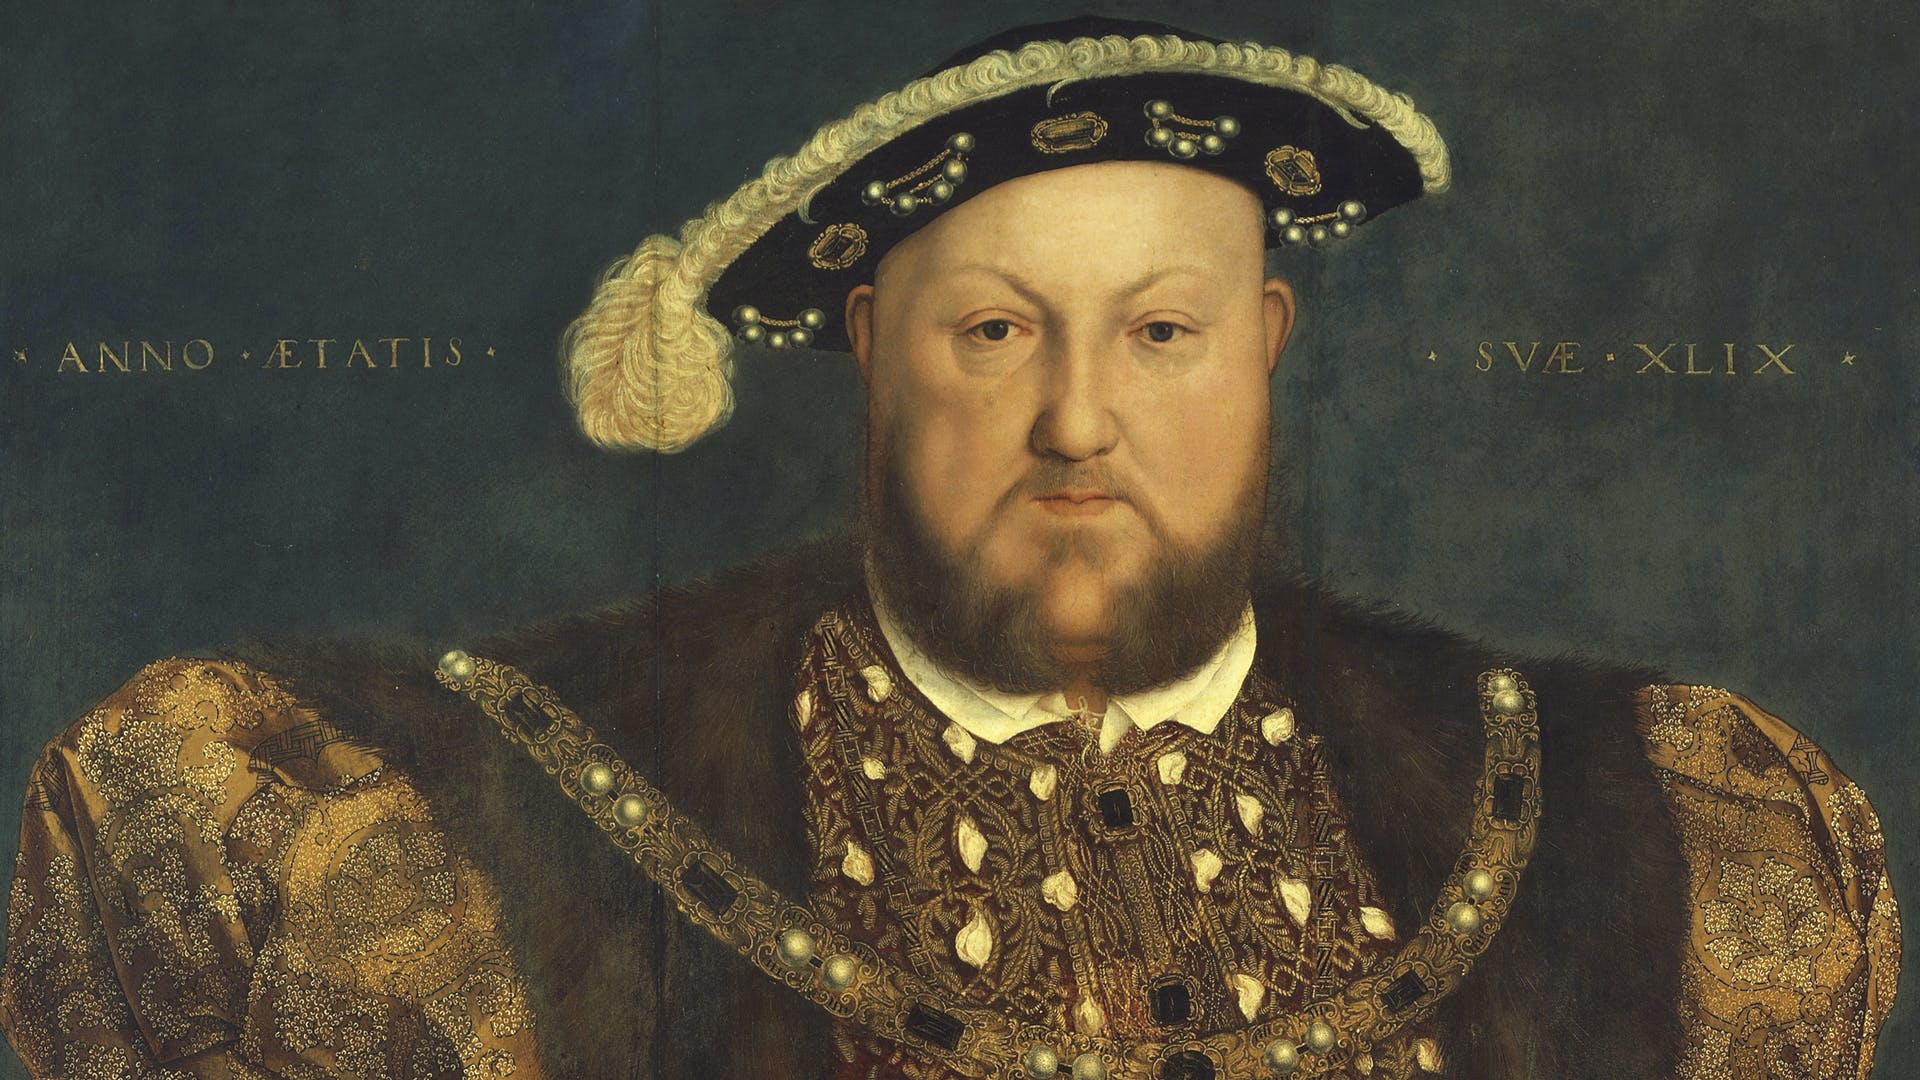
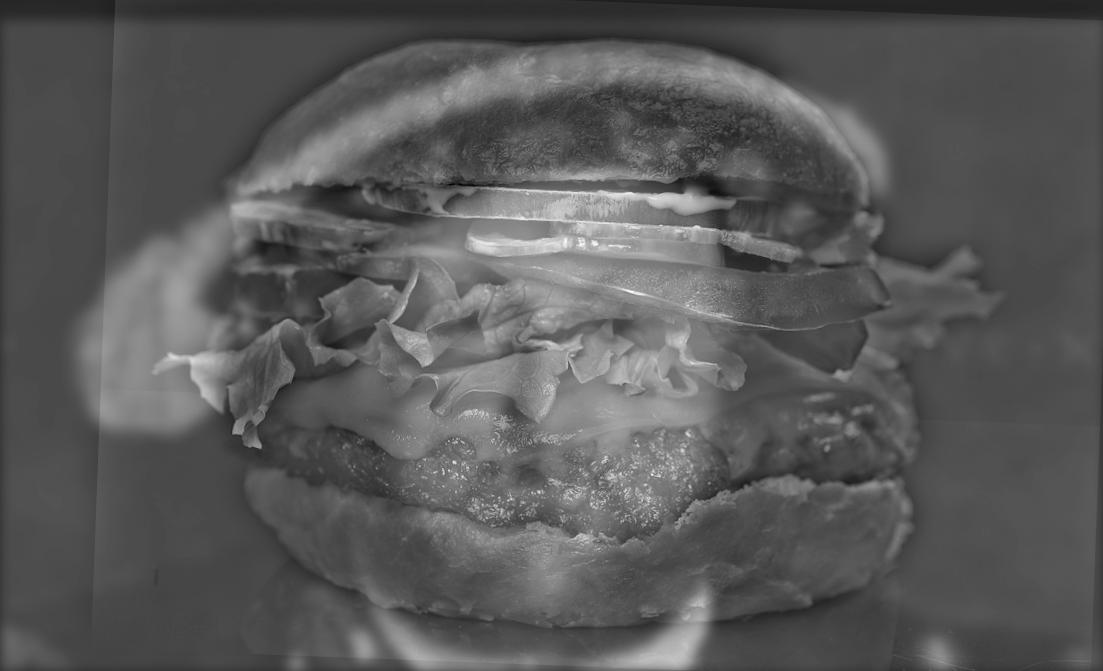
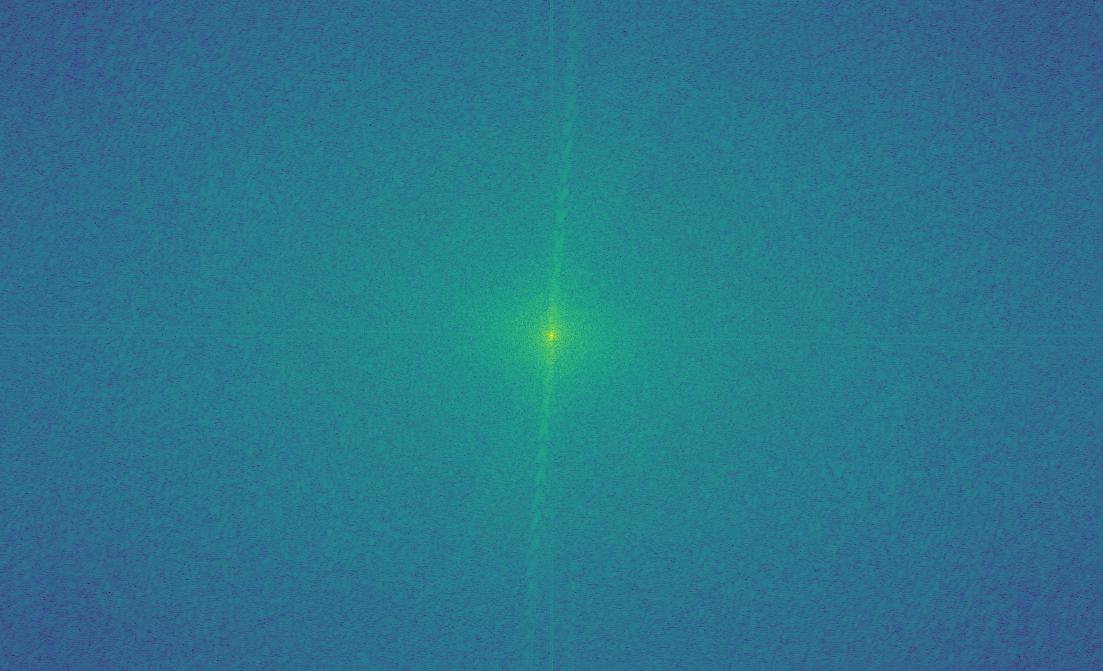
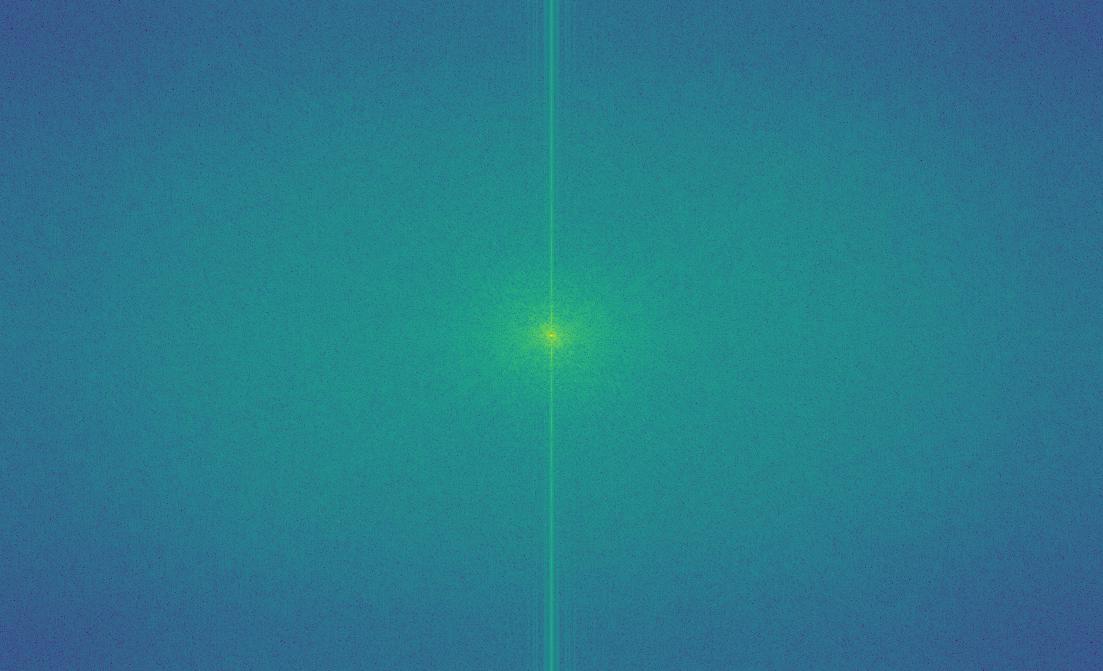
Hybrid images are images that look like one thing from up close, and something different from far away. This affect is achieved by taking the high frequency components of one image and the low frequency components of another image and stacking them. From up close the viewer notices the high frequencies, and from far away the viewer can only make out the low frequencies. Here are some examples of such images. This is based on a paper here



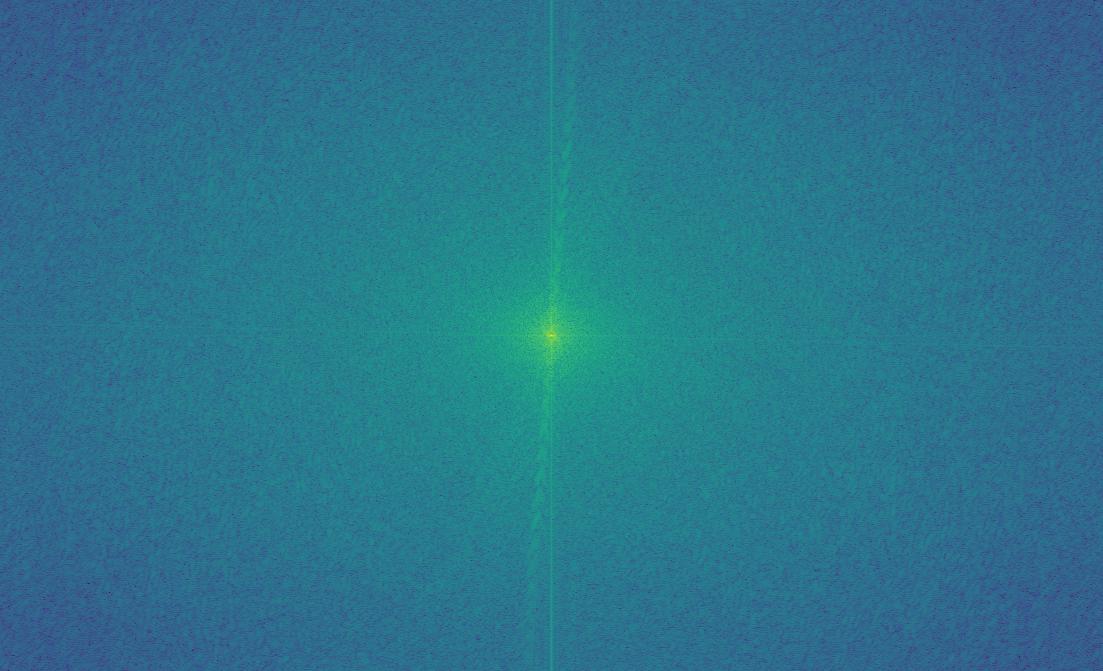
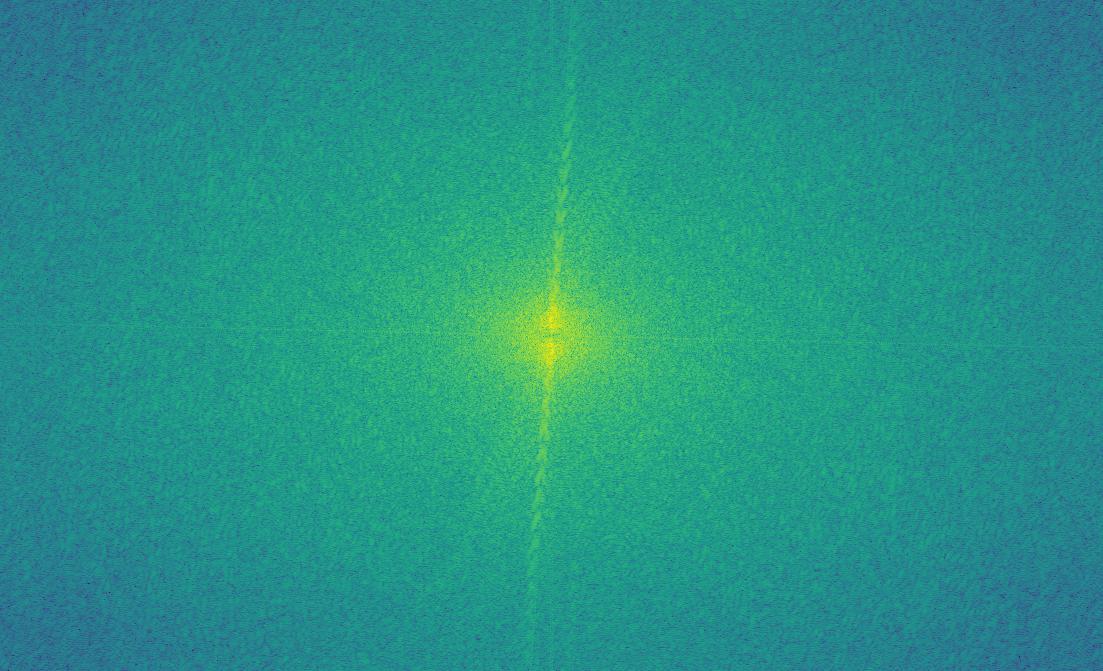
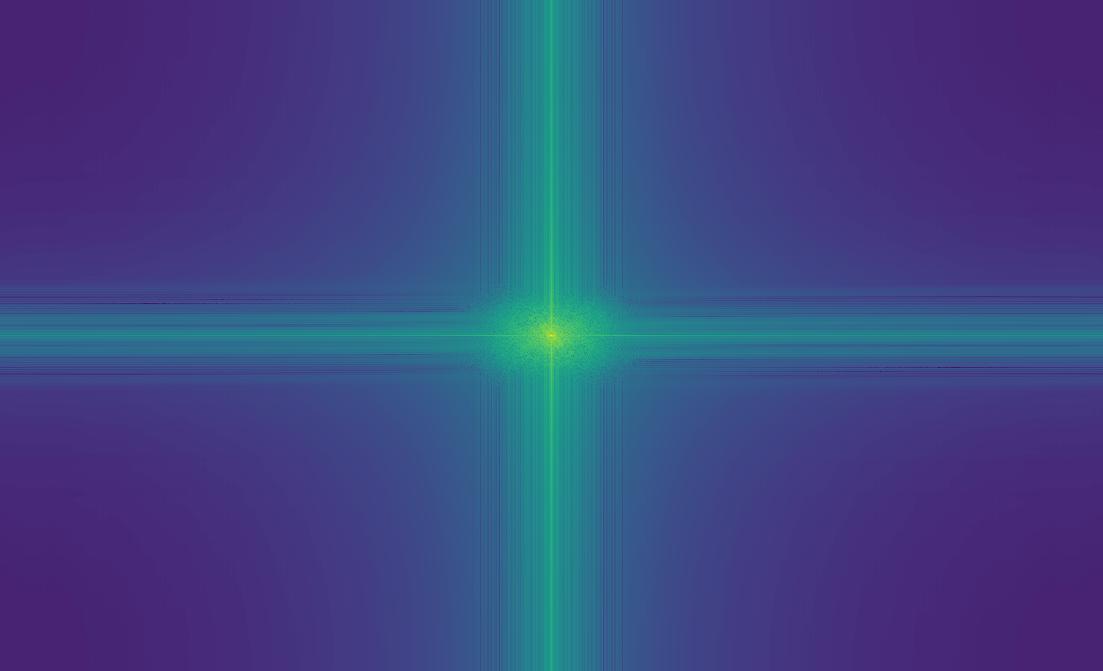
Failure case: Pineapple under the sea


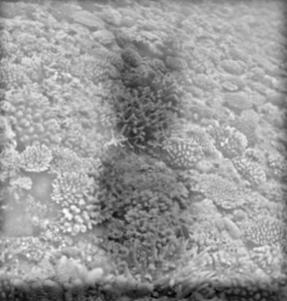
This is a failure case because from a distance, the pineapple is not very distinguishable as more than just an outline. This is because the pineapple contained a lot of high frequency content, and after being passed through a low pass filter, that content went away. This shows that high frequency content does not work well for the background of these types of images.
Gaussian and Laplacian Stacks
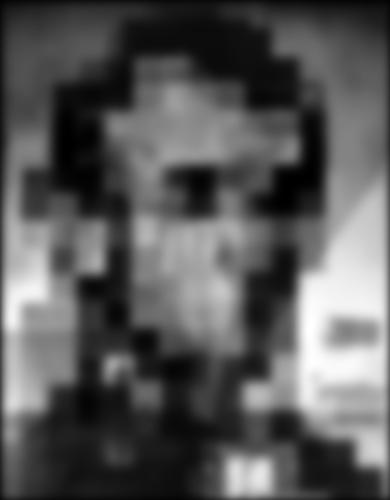
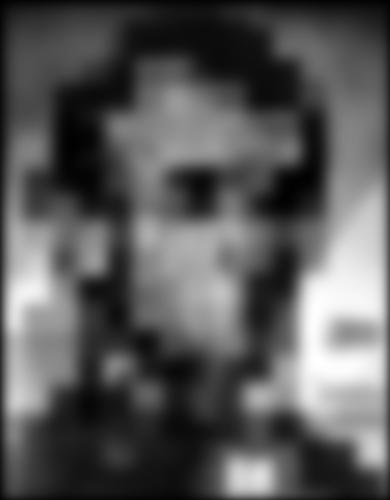
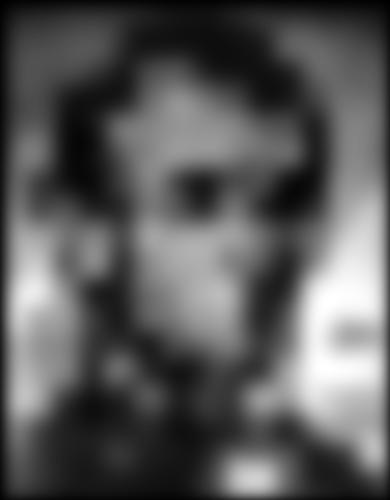
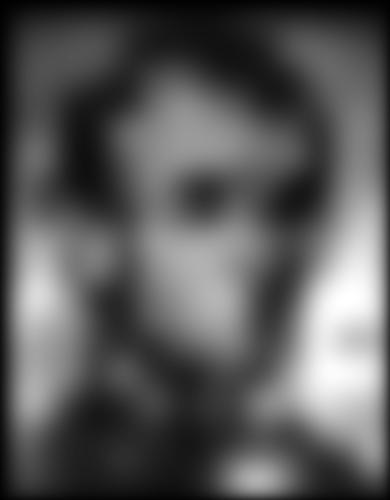
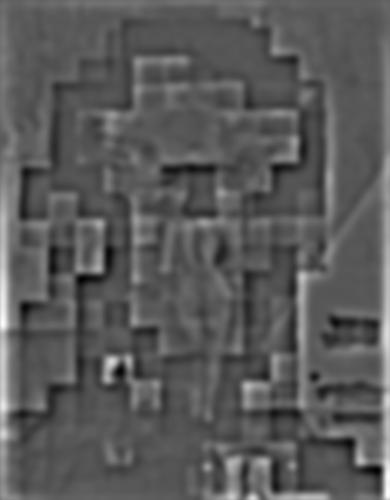
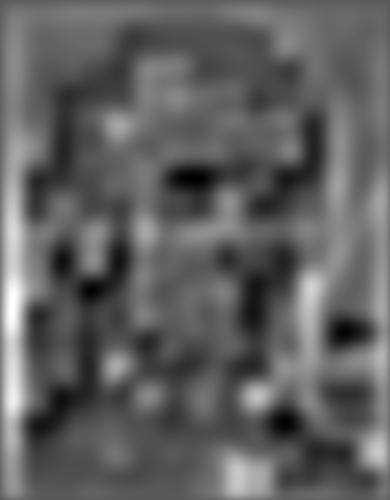
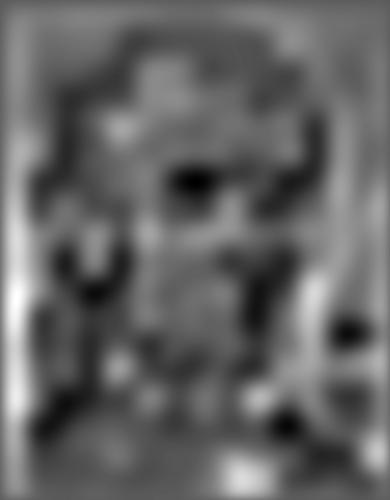
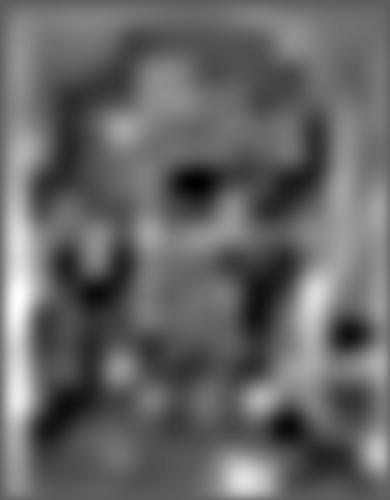
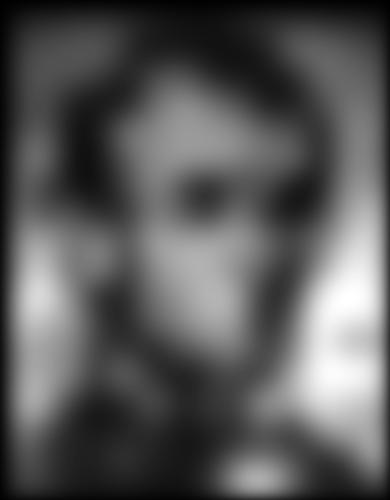
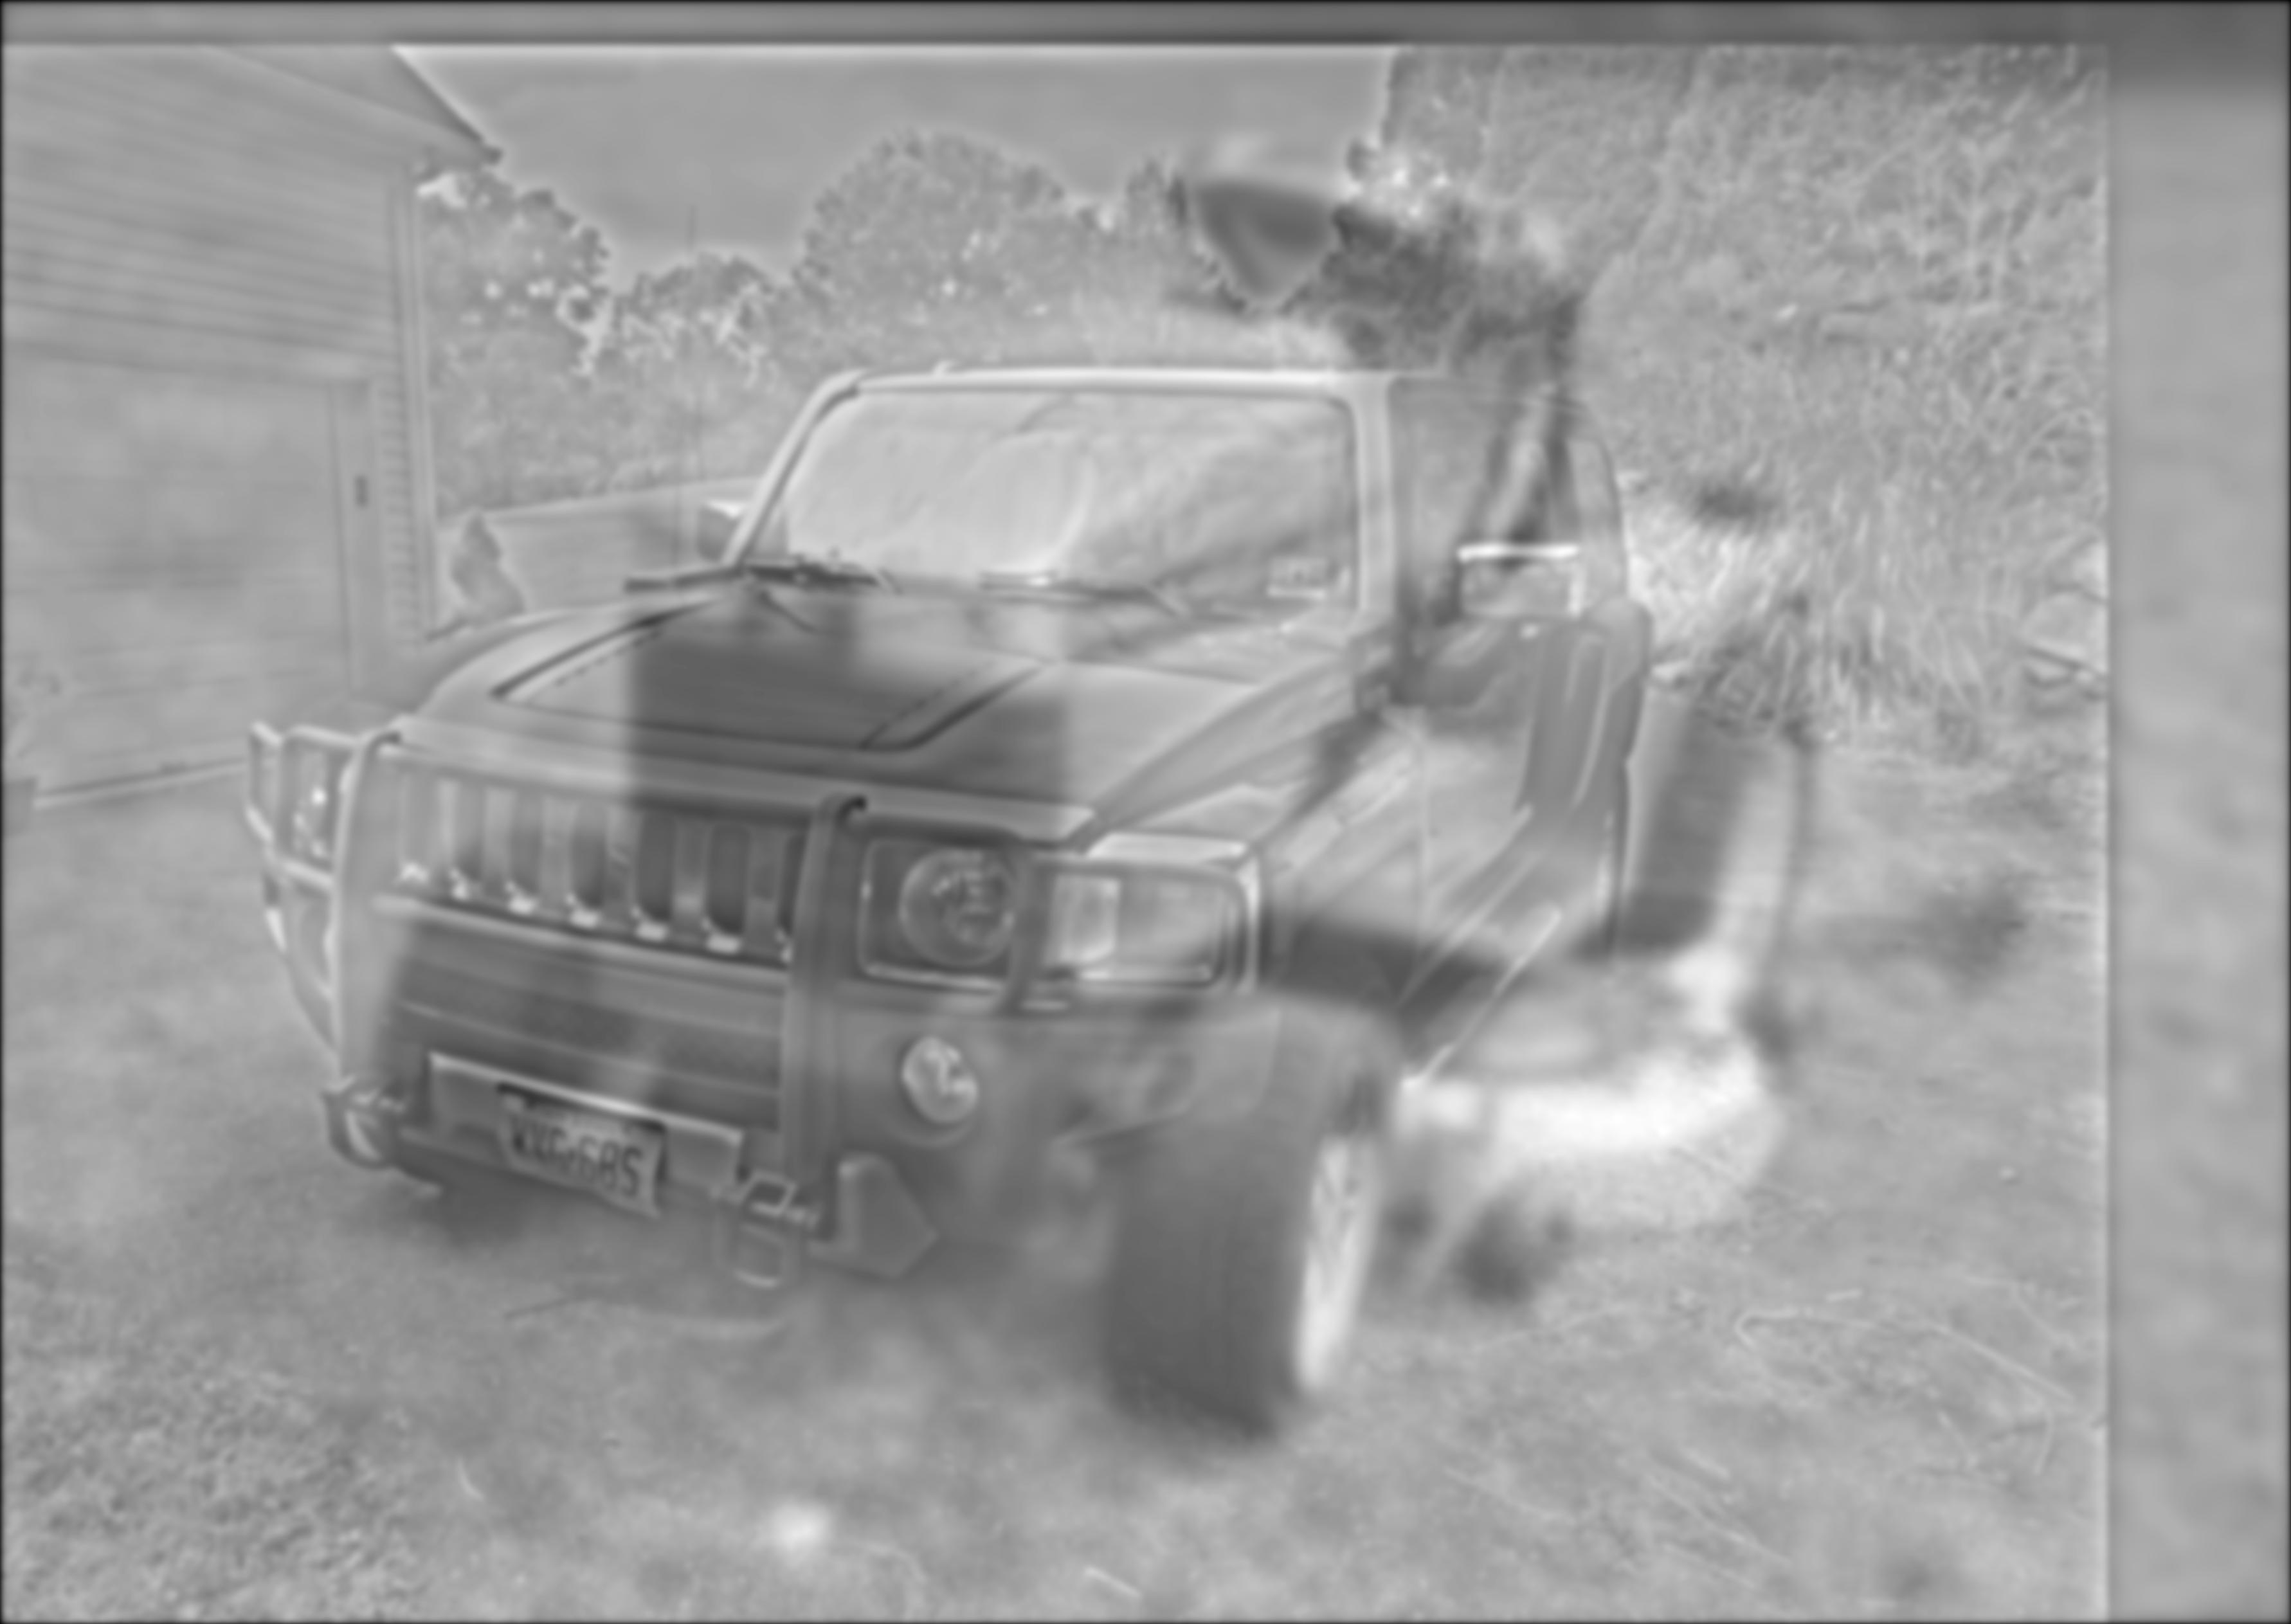
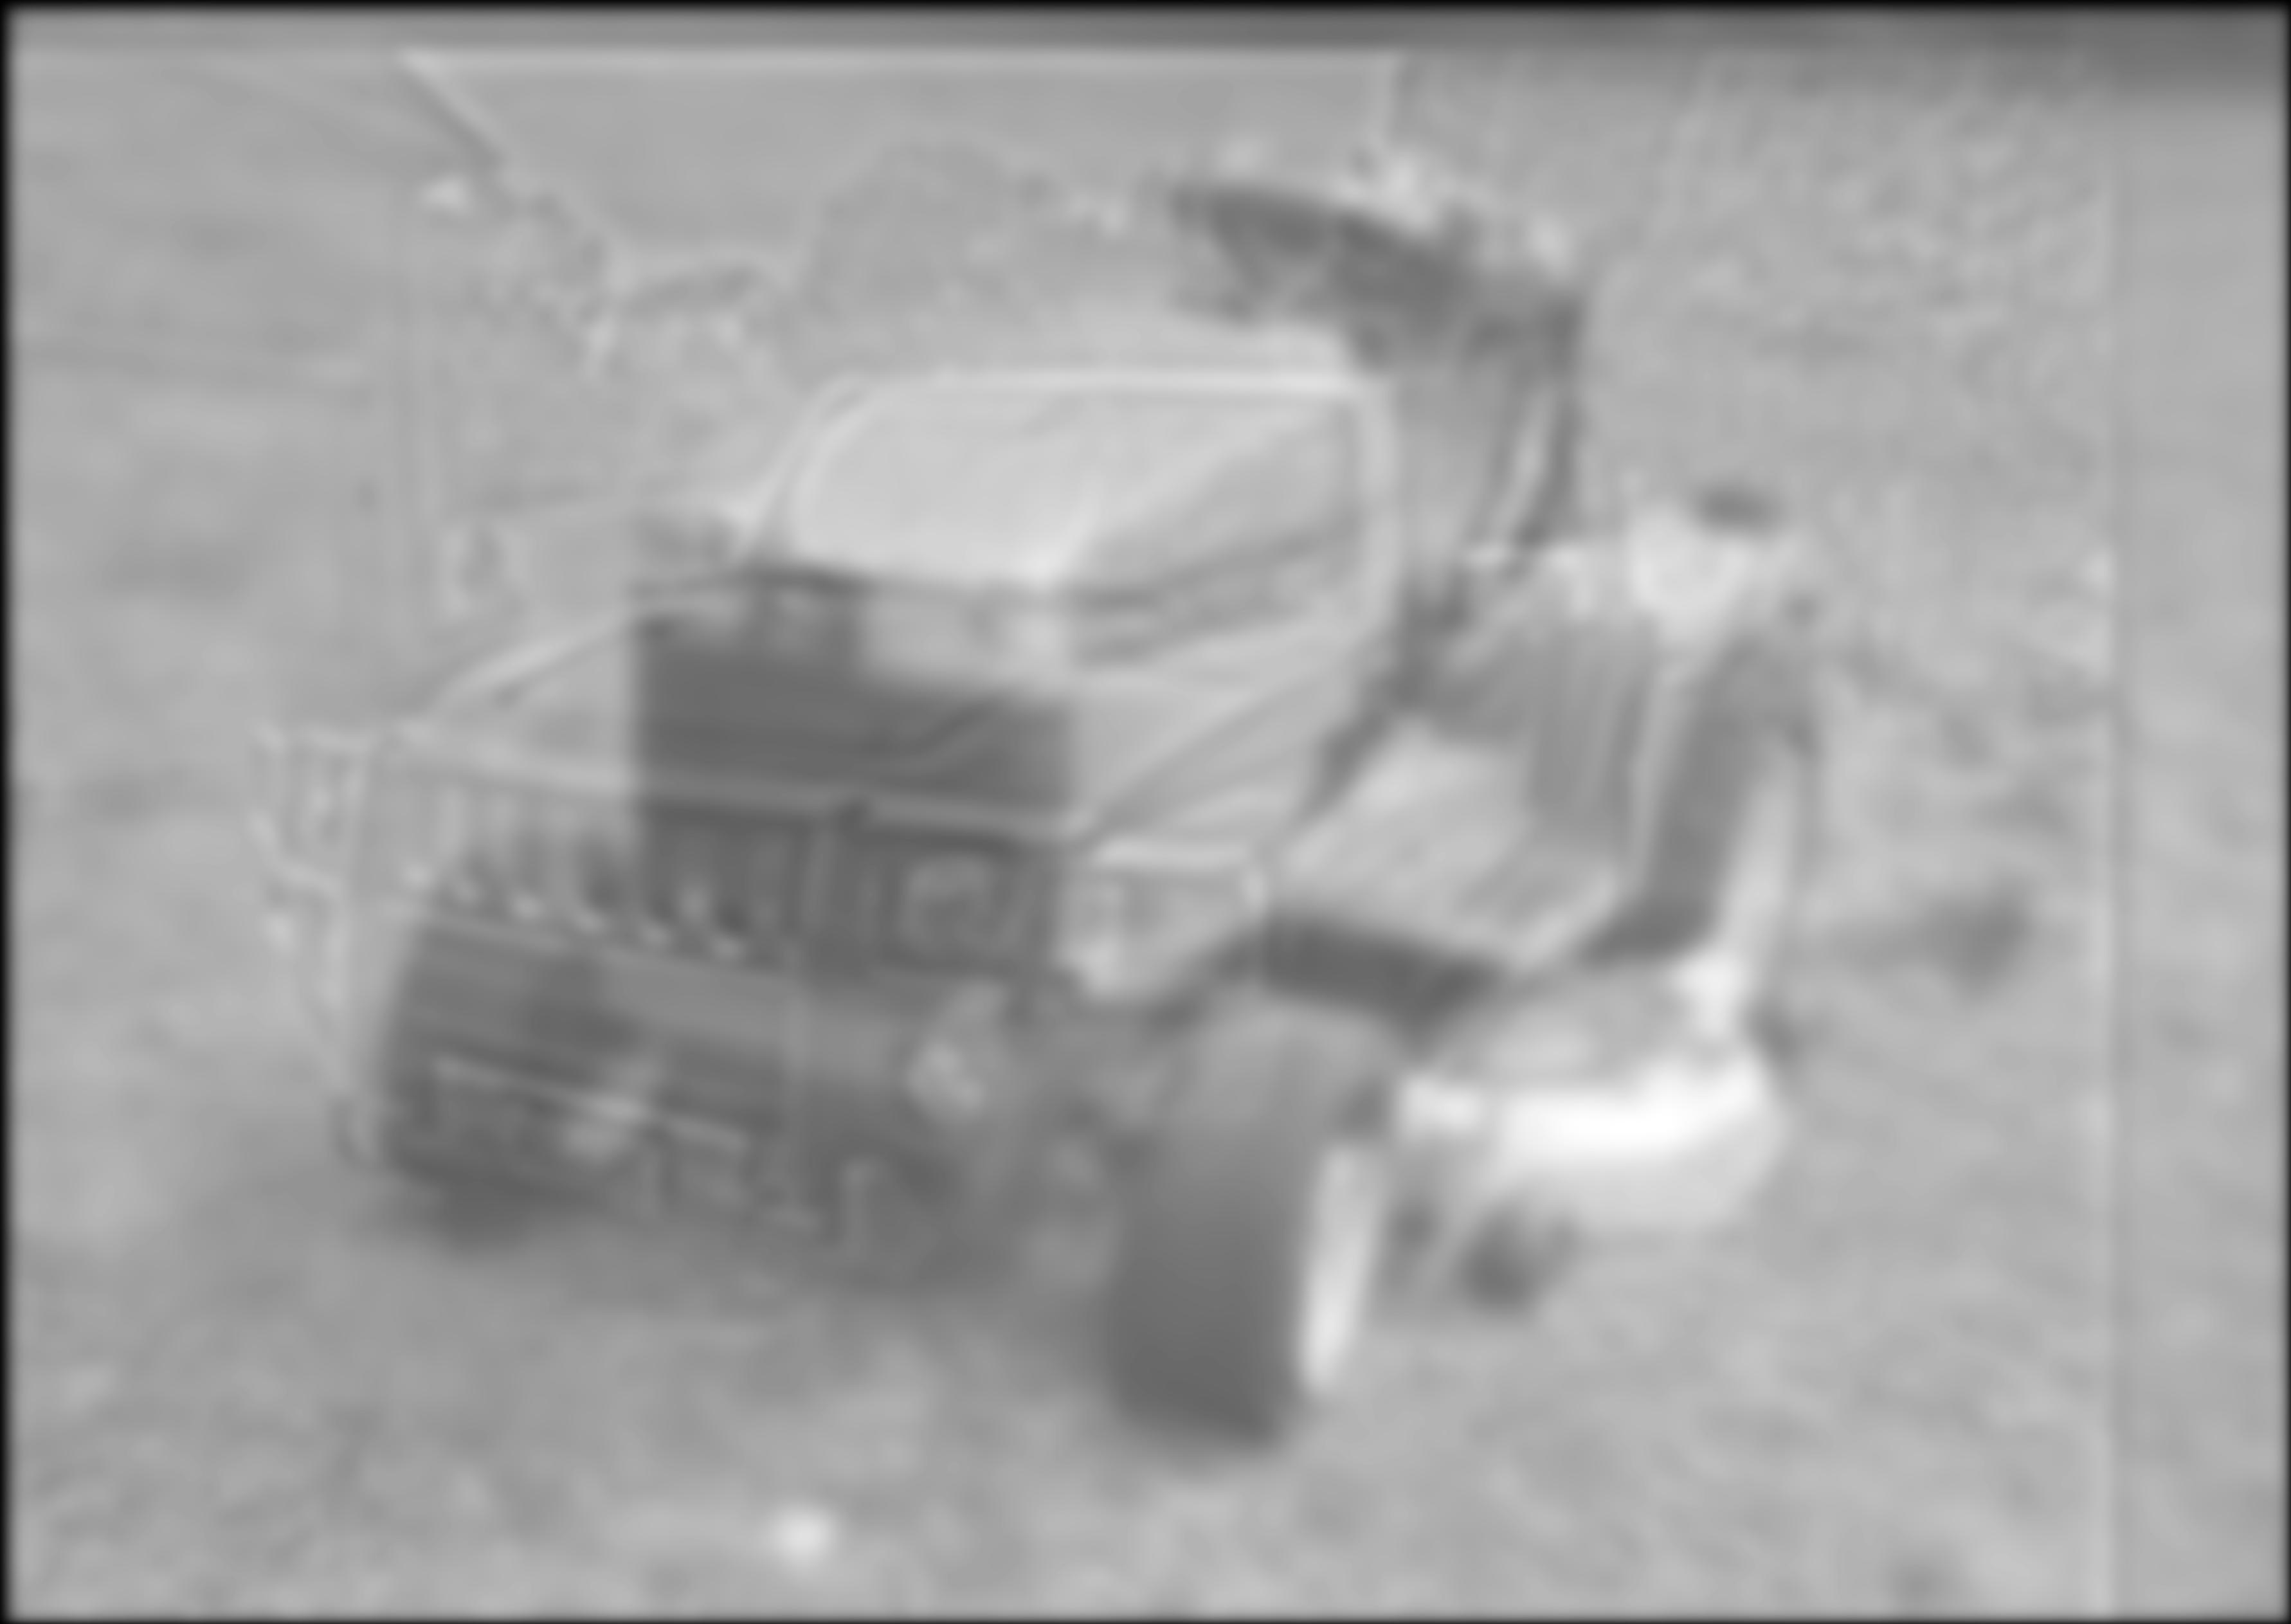
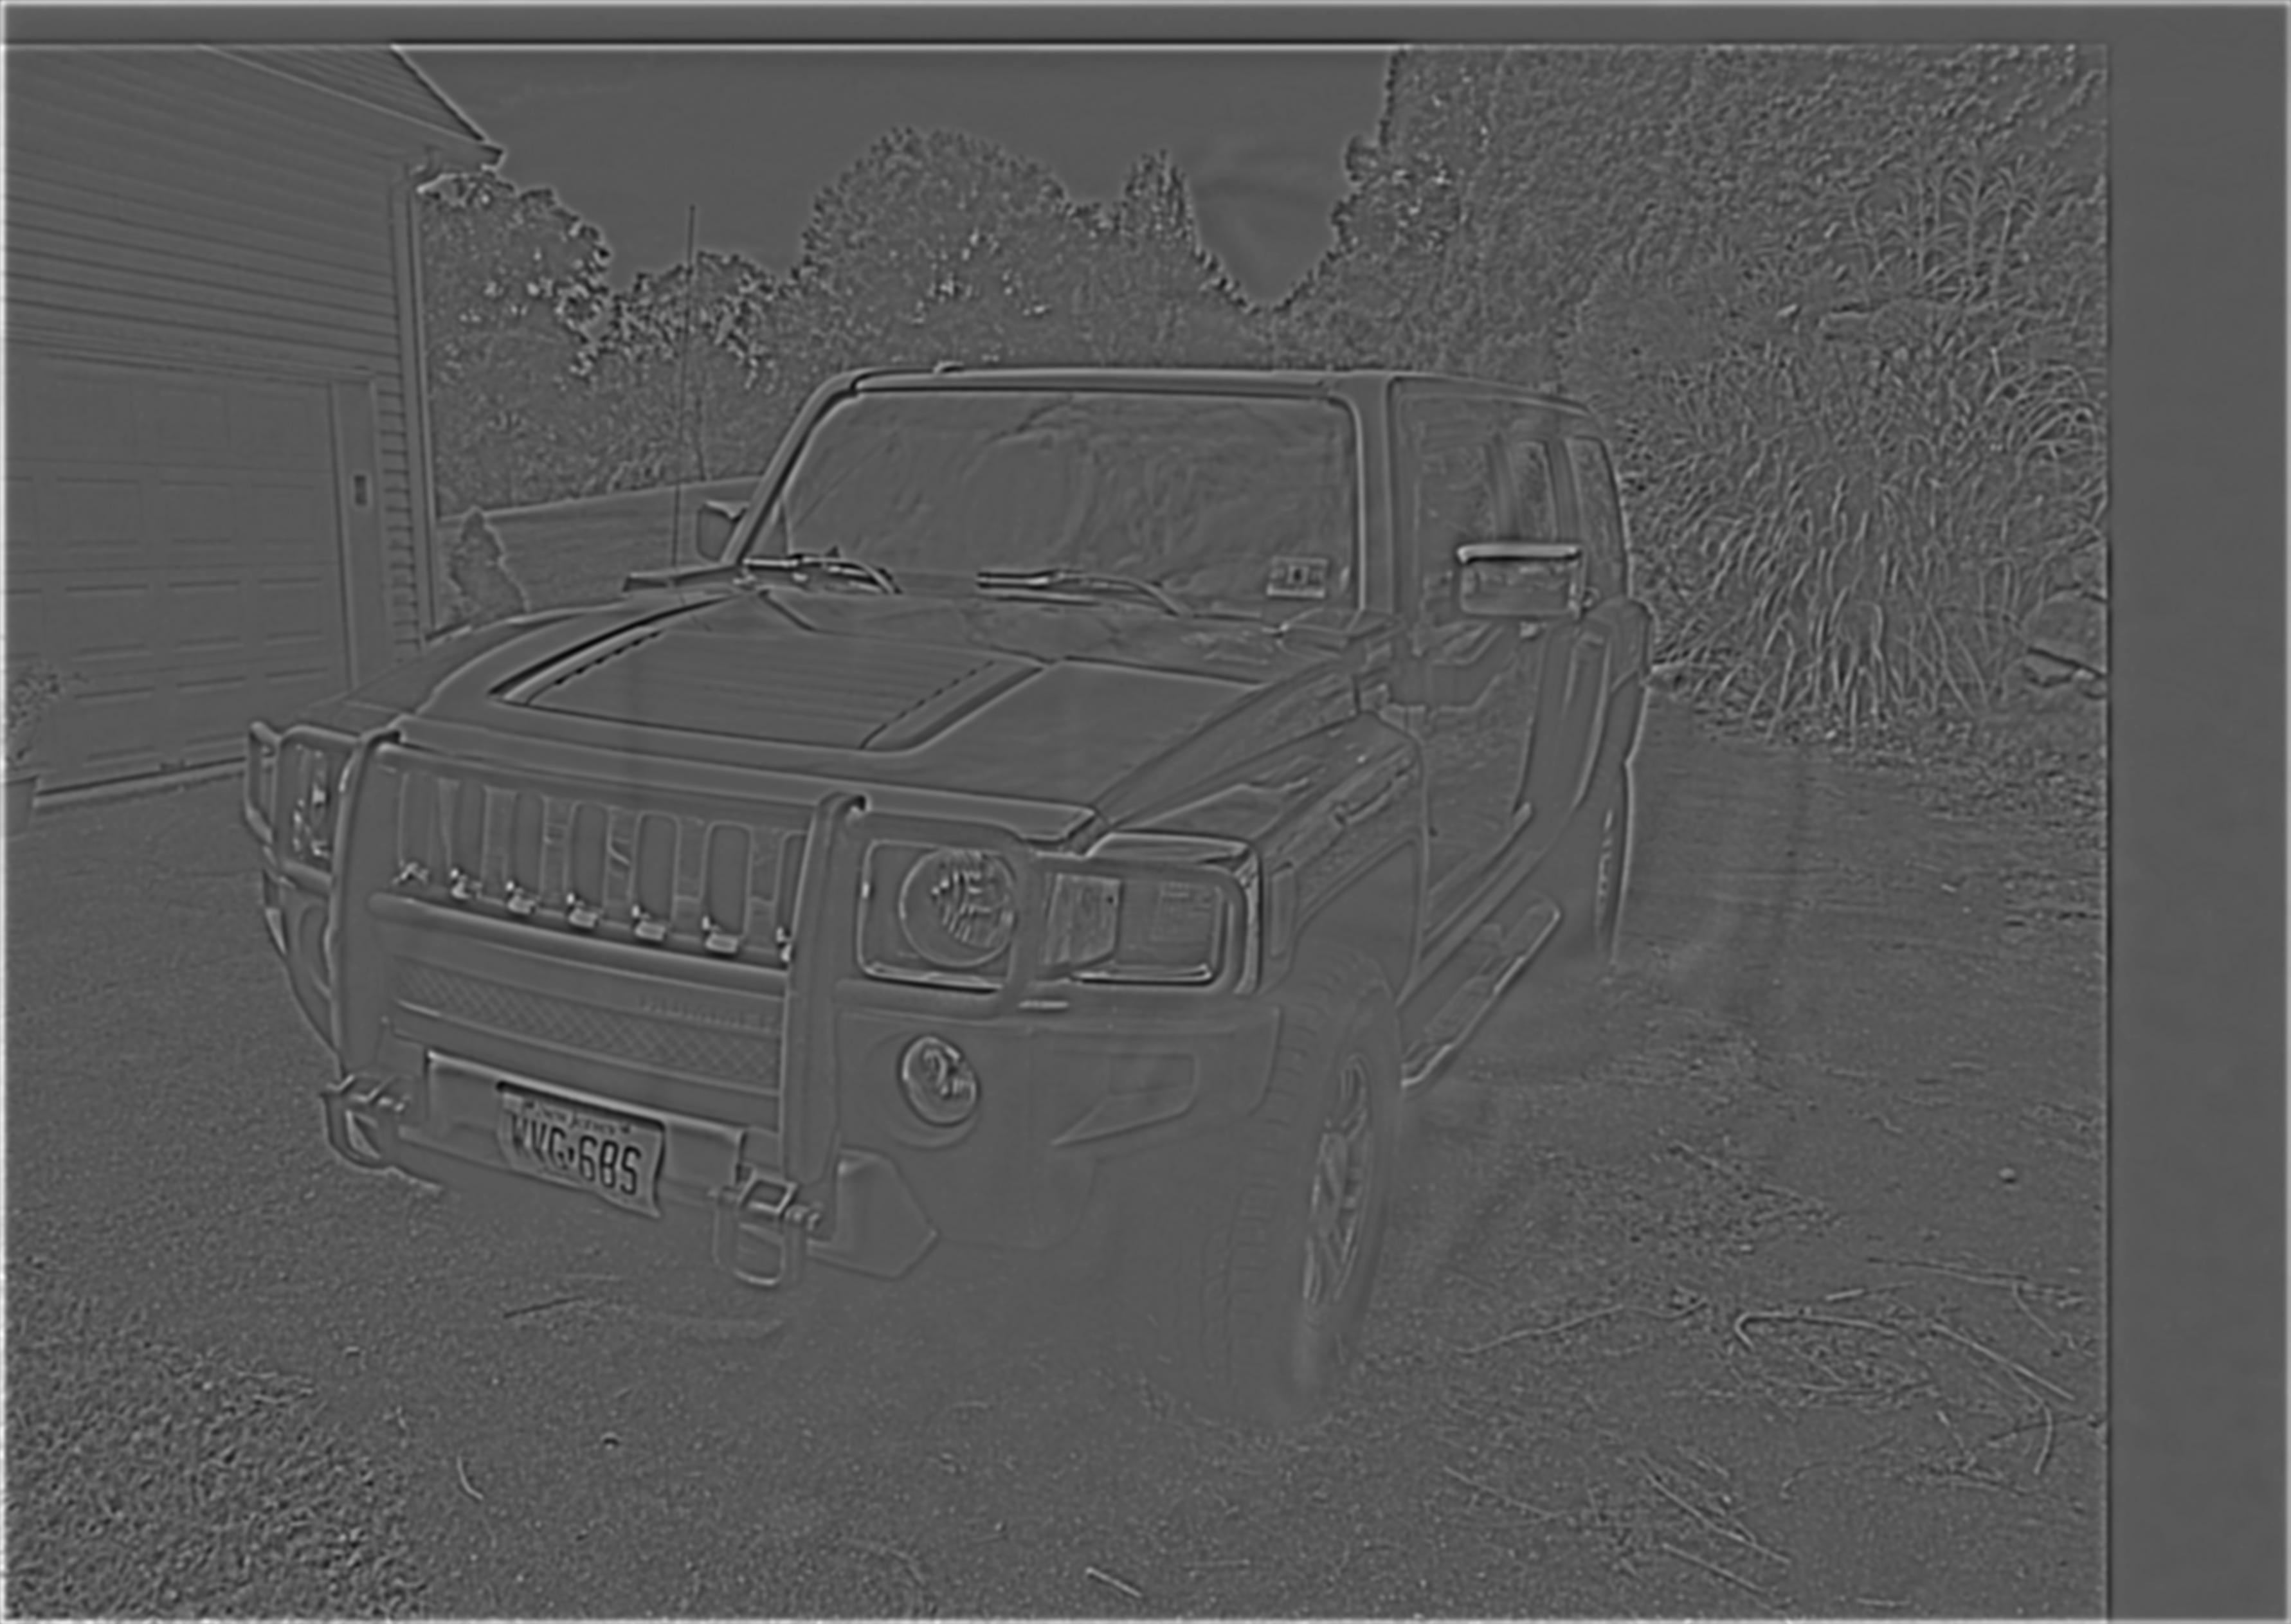
A Gaussian stack is a set of image where each level of the stack gets progressively blurrier as it is passed through a low pass filter each time. A Laplacian stack is a stack where each layer represents a specific band of frequencies within that image. Here are examples of a gaussian and a laplacian stack on the painting "Lincoln in Dalivision" by Salvador Dali.
"Lincoln in Dalivision" by Salvador Dali

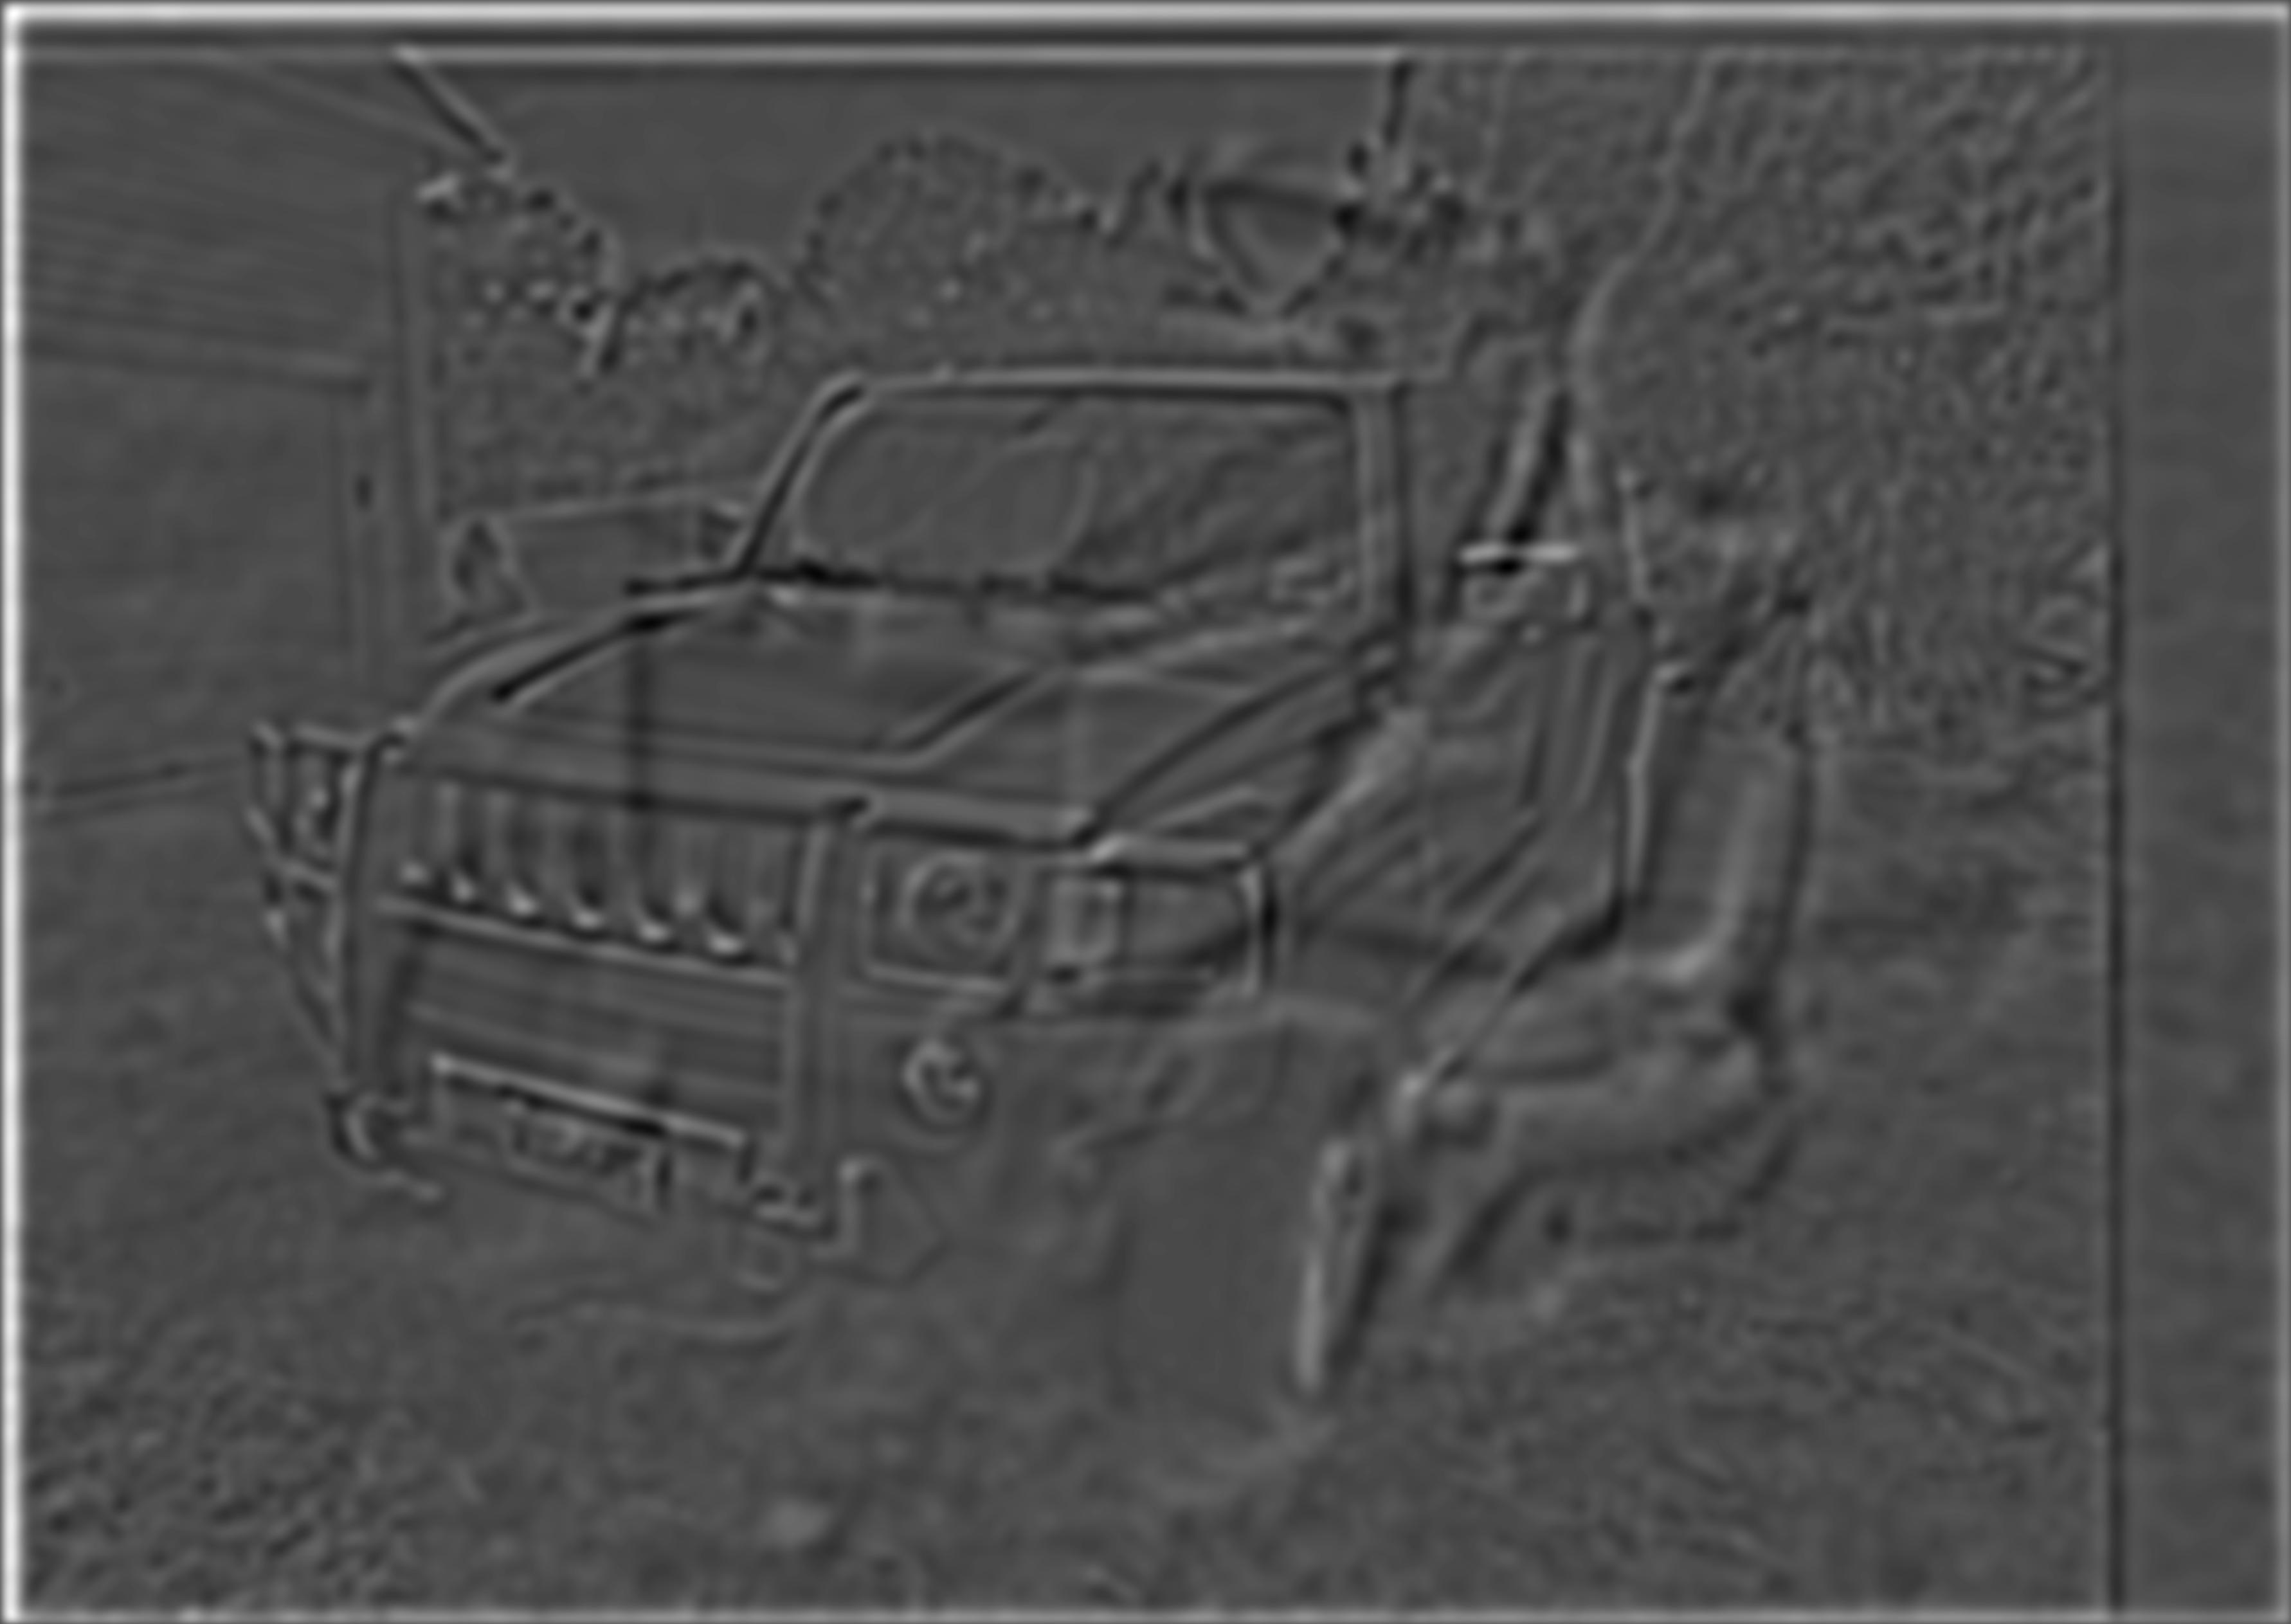
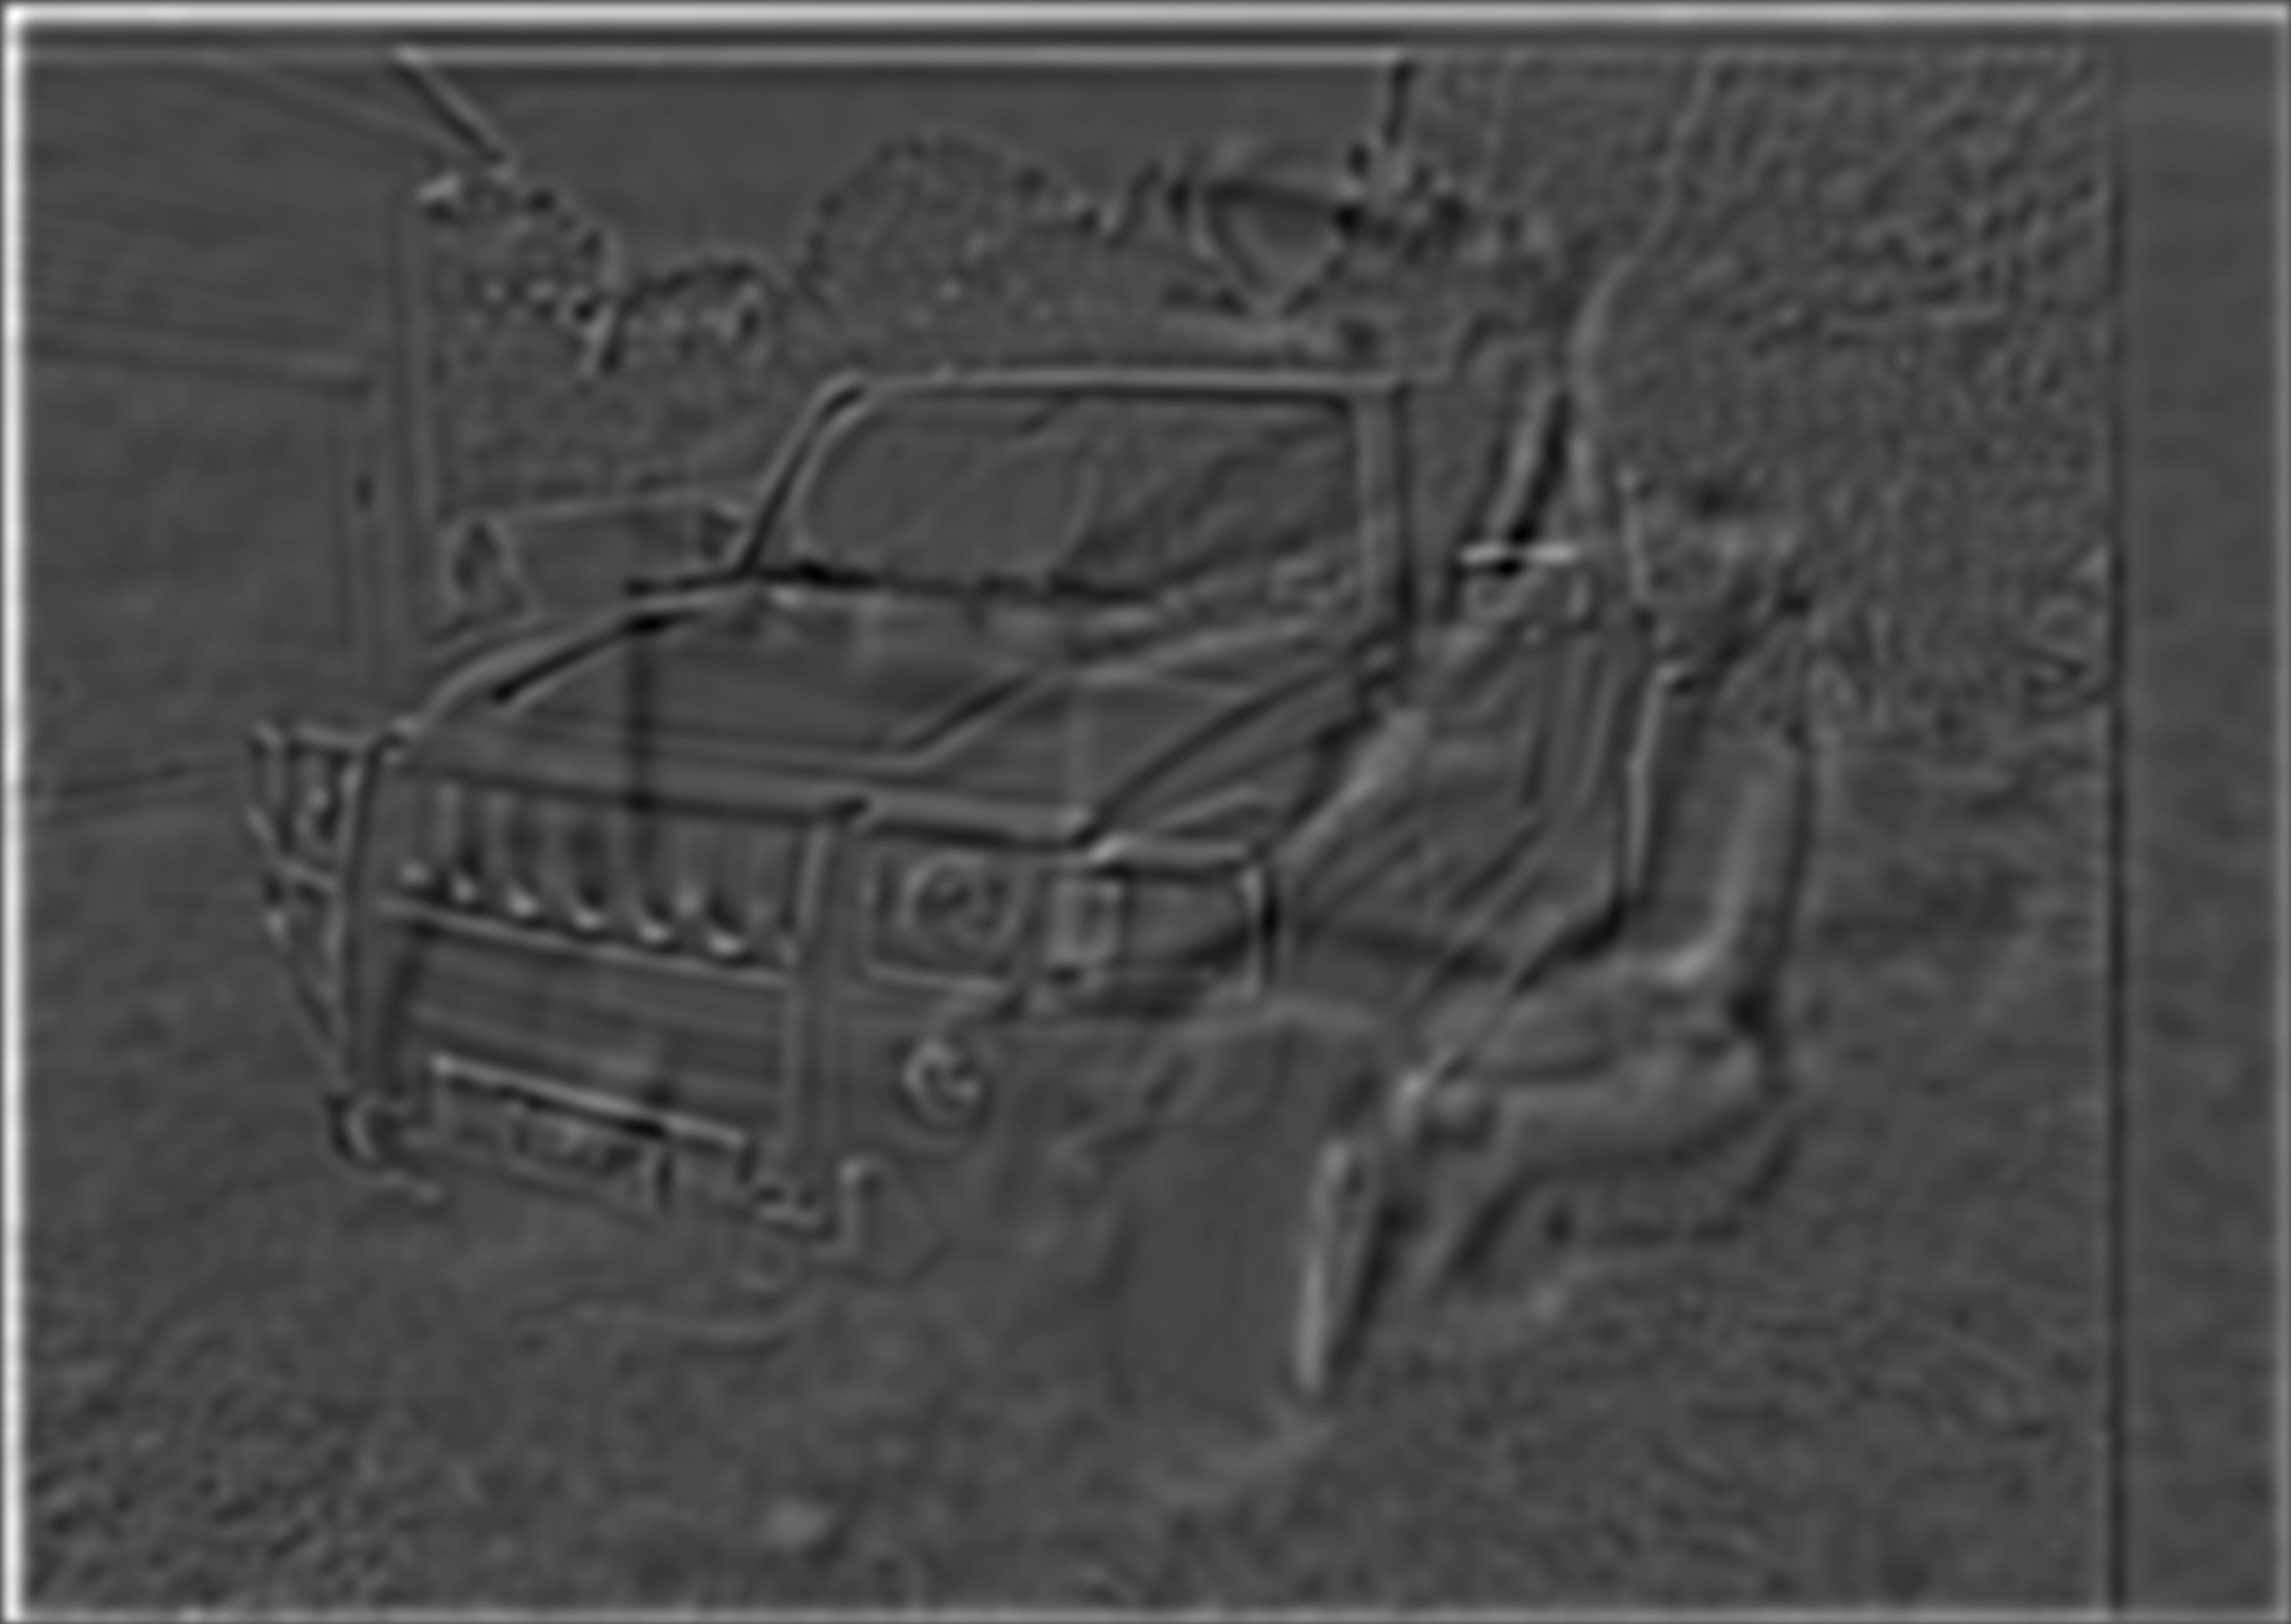
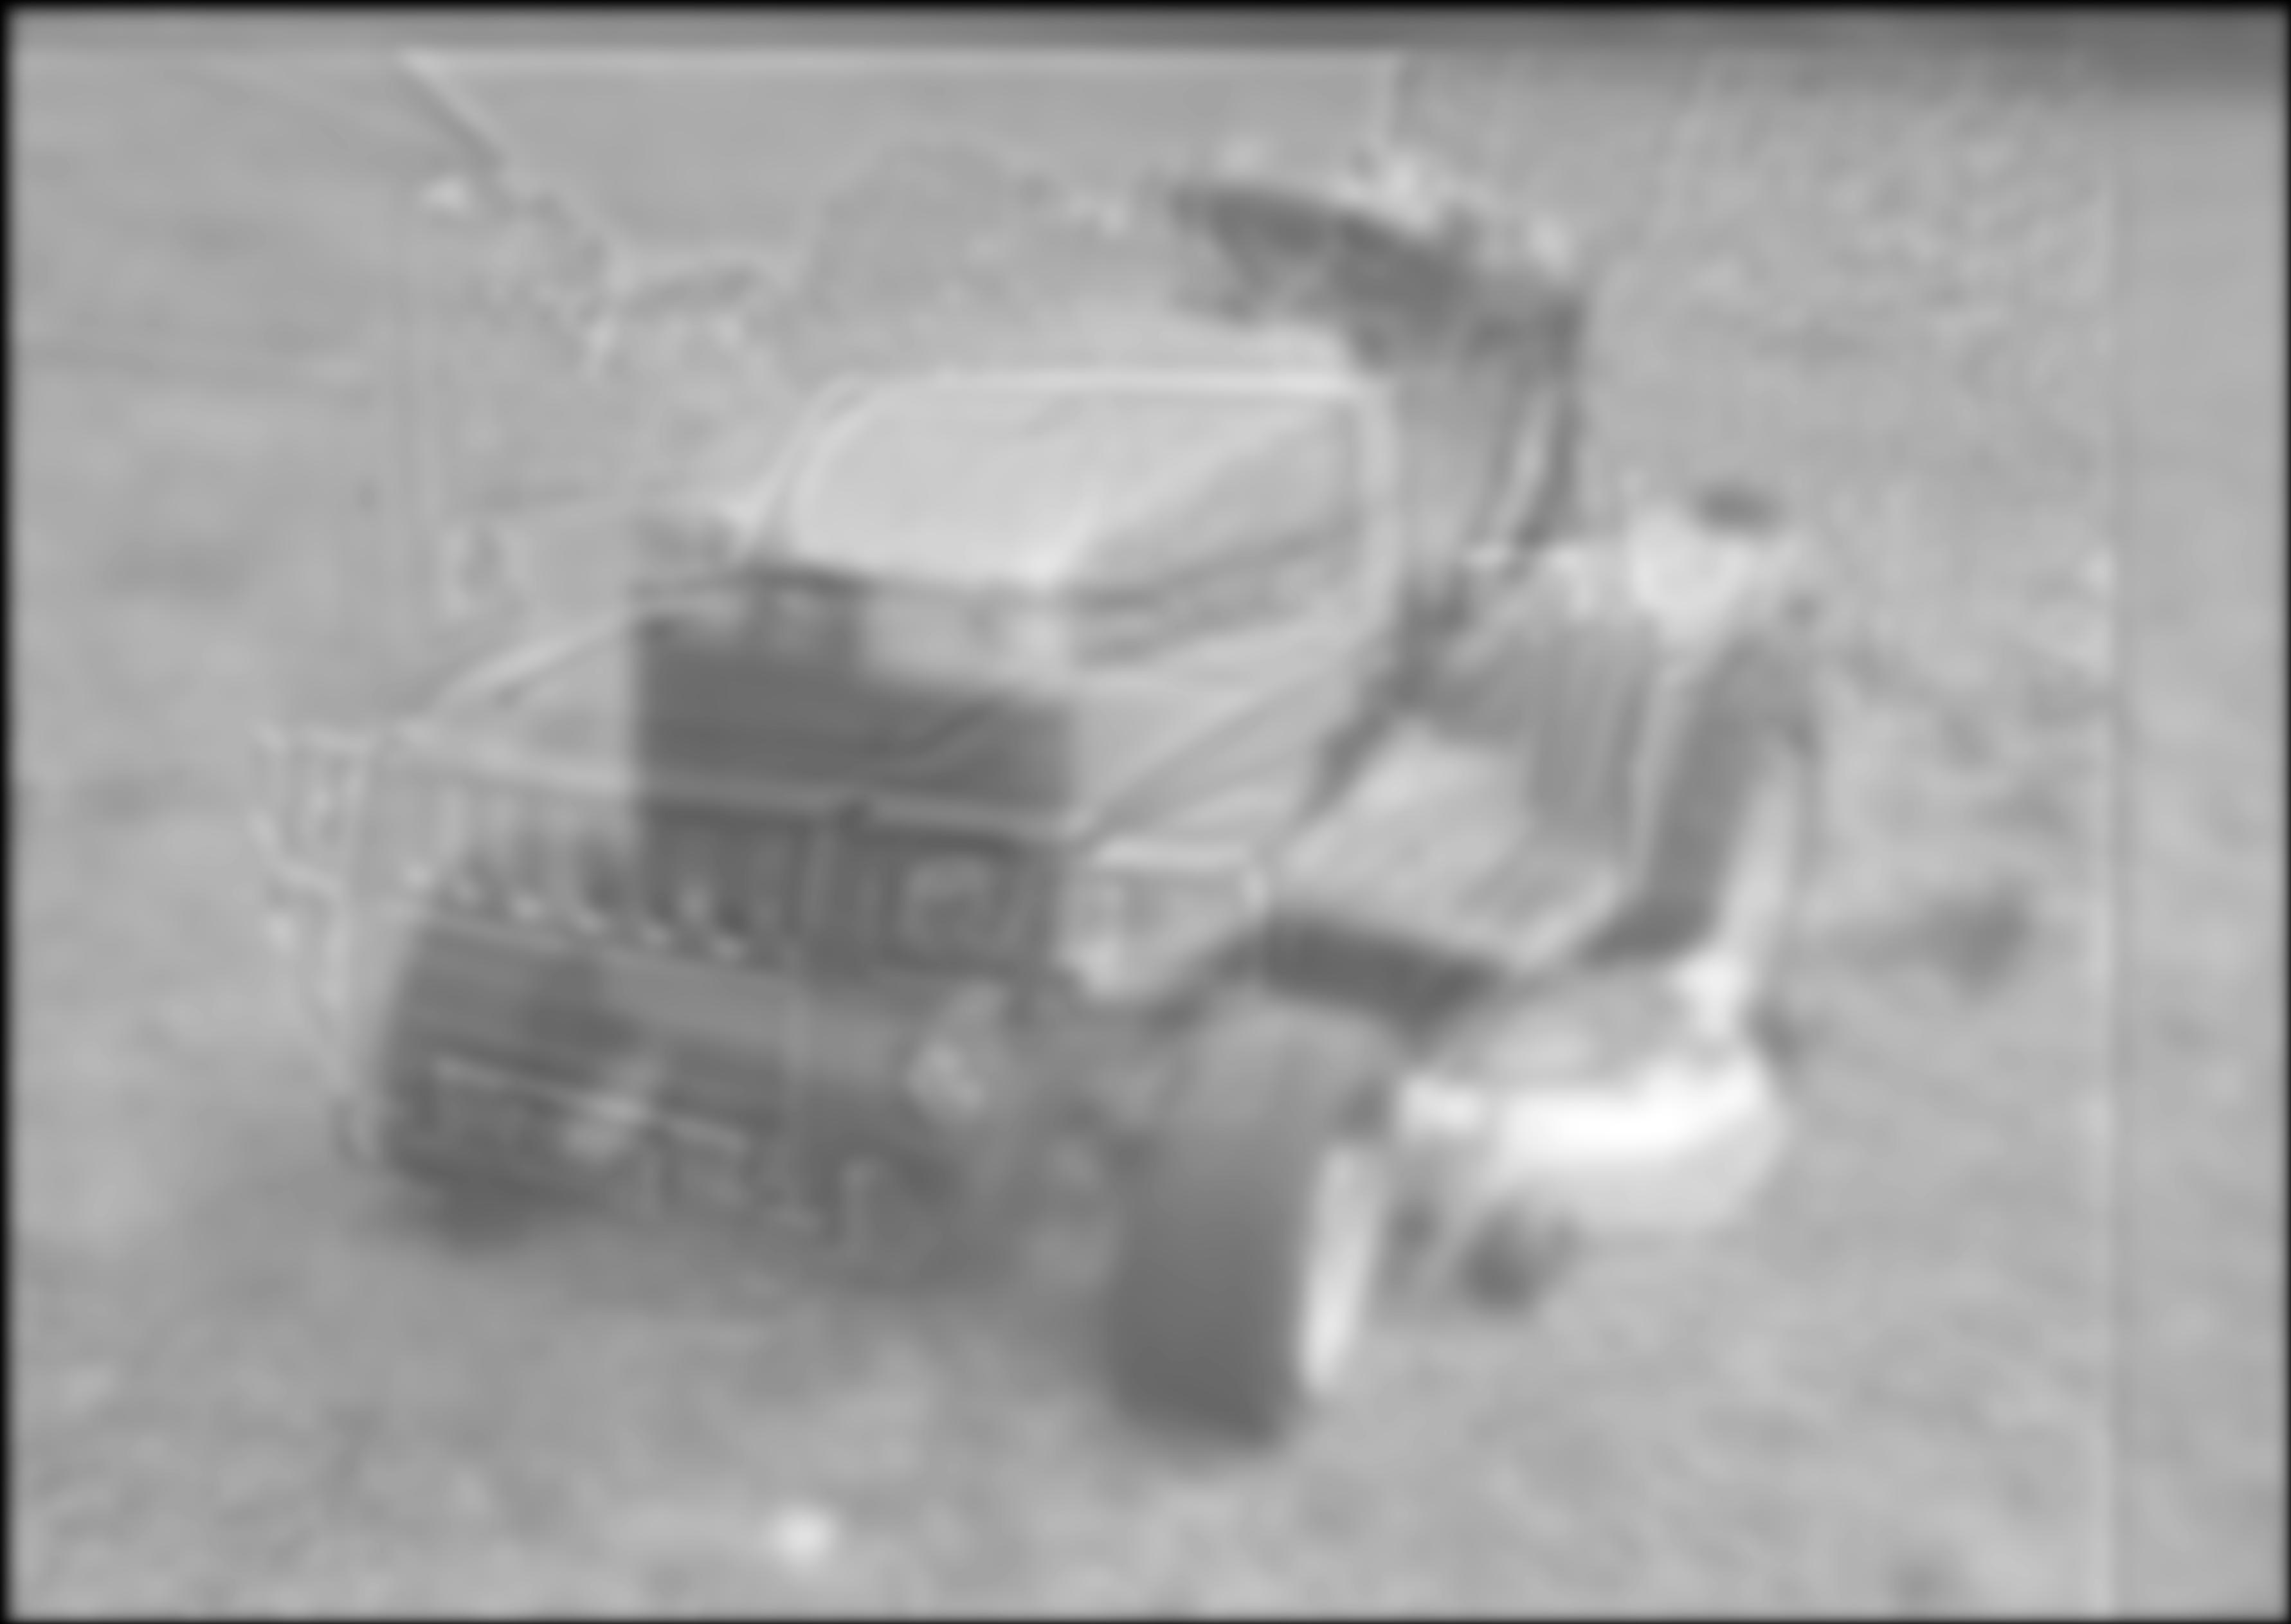
The hummer-tractor hybrid image




Multiresolution Blending
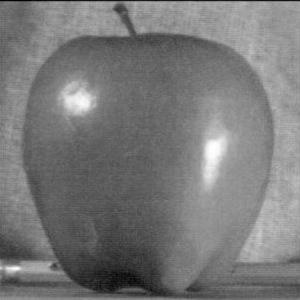
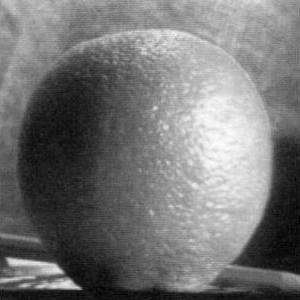
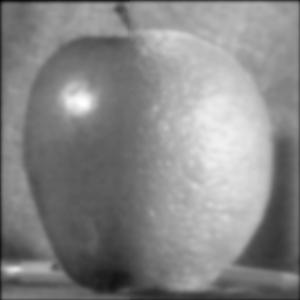
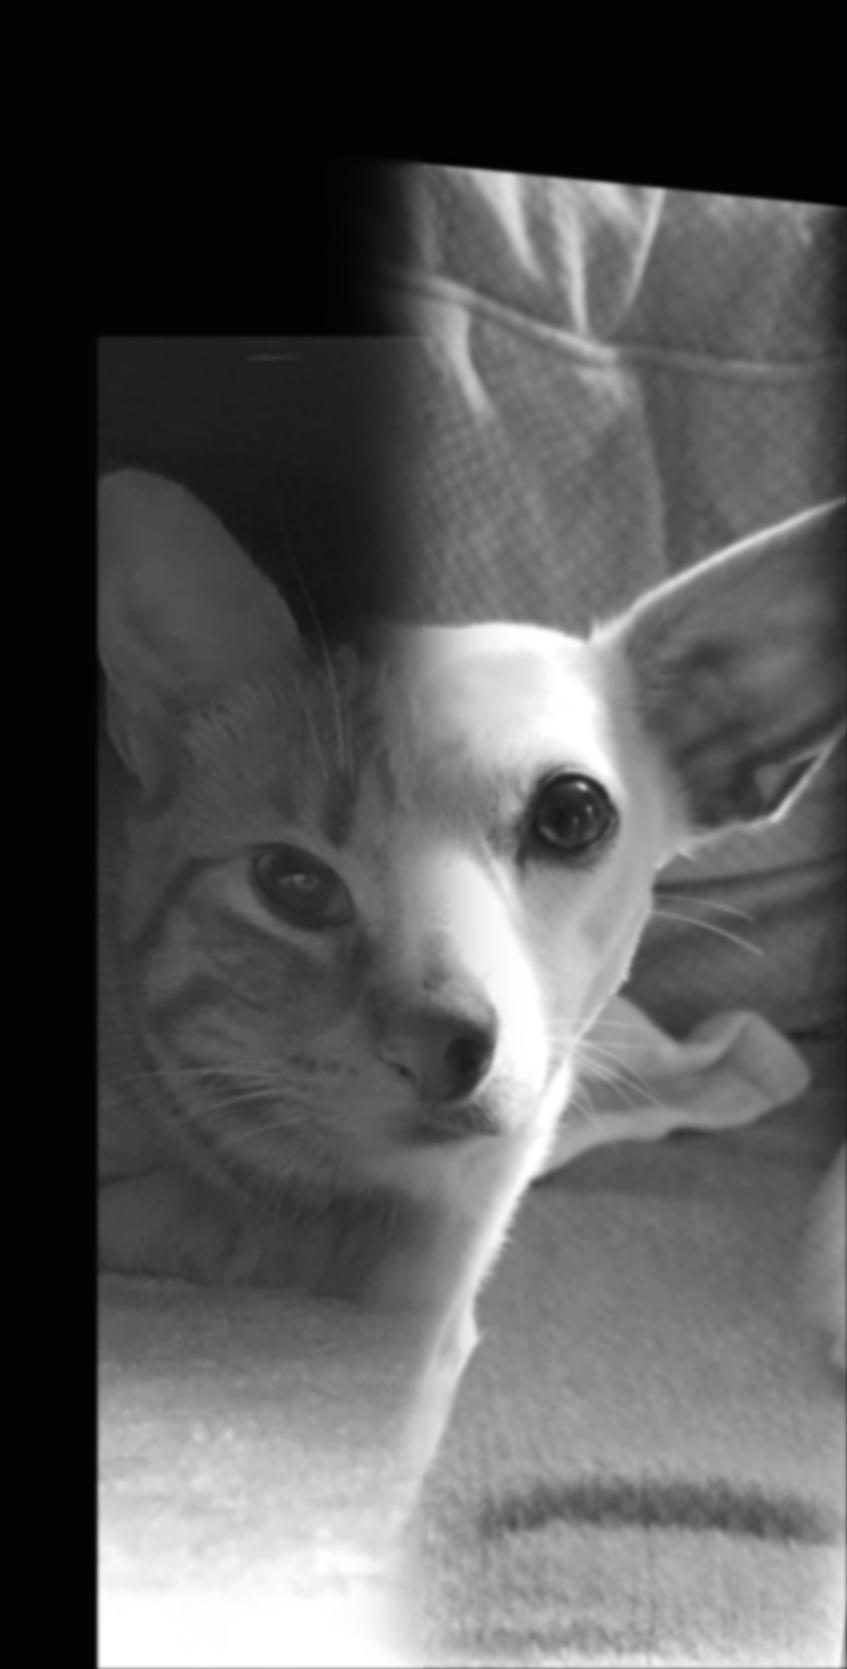
The Gaussian and Laplacian stacks in the previous section can be used to create smooth splines, as described in the paper here.
